The great leaps of v1.11: Pier operations
 The v1.10 update for CMANO was released on Feb 26 to widespread acclaim. The dev team is already hard at work preparing the next upcoming major release, version v1.11. After the panoply of new features in past updates, what new tricks do the CMANO devs have up their sleeves? Let’s take a peek.
Pier Operations
You asked for it, so here it is!
Ships have had the ability to dock with designated parent ships and facilities ever since the beta days of Command, but their ability to be serviced while docked was very limited. This changes with v1.11: Proper refuel, re-arm and repairs are implemented.
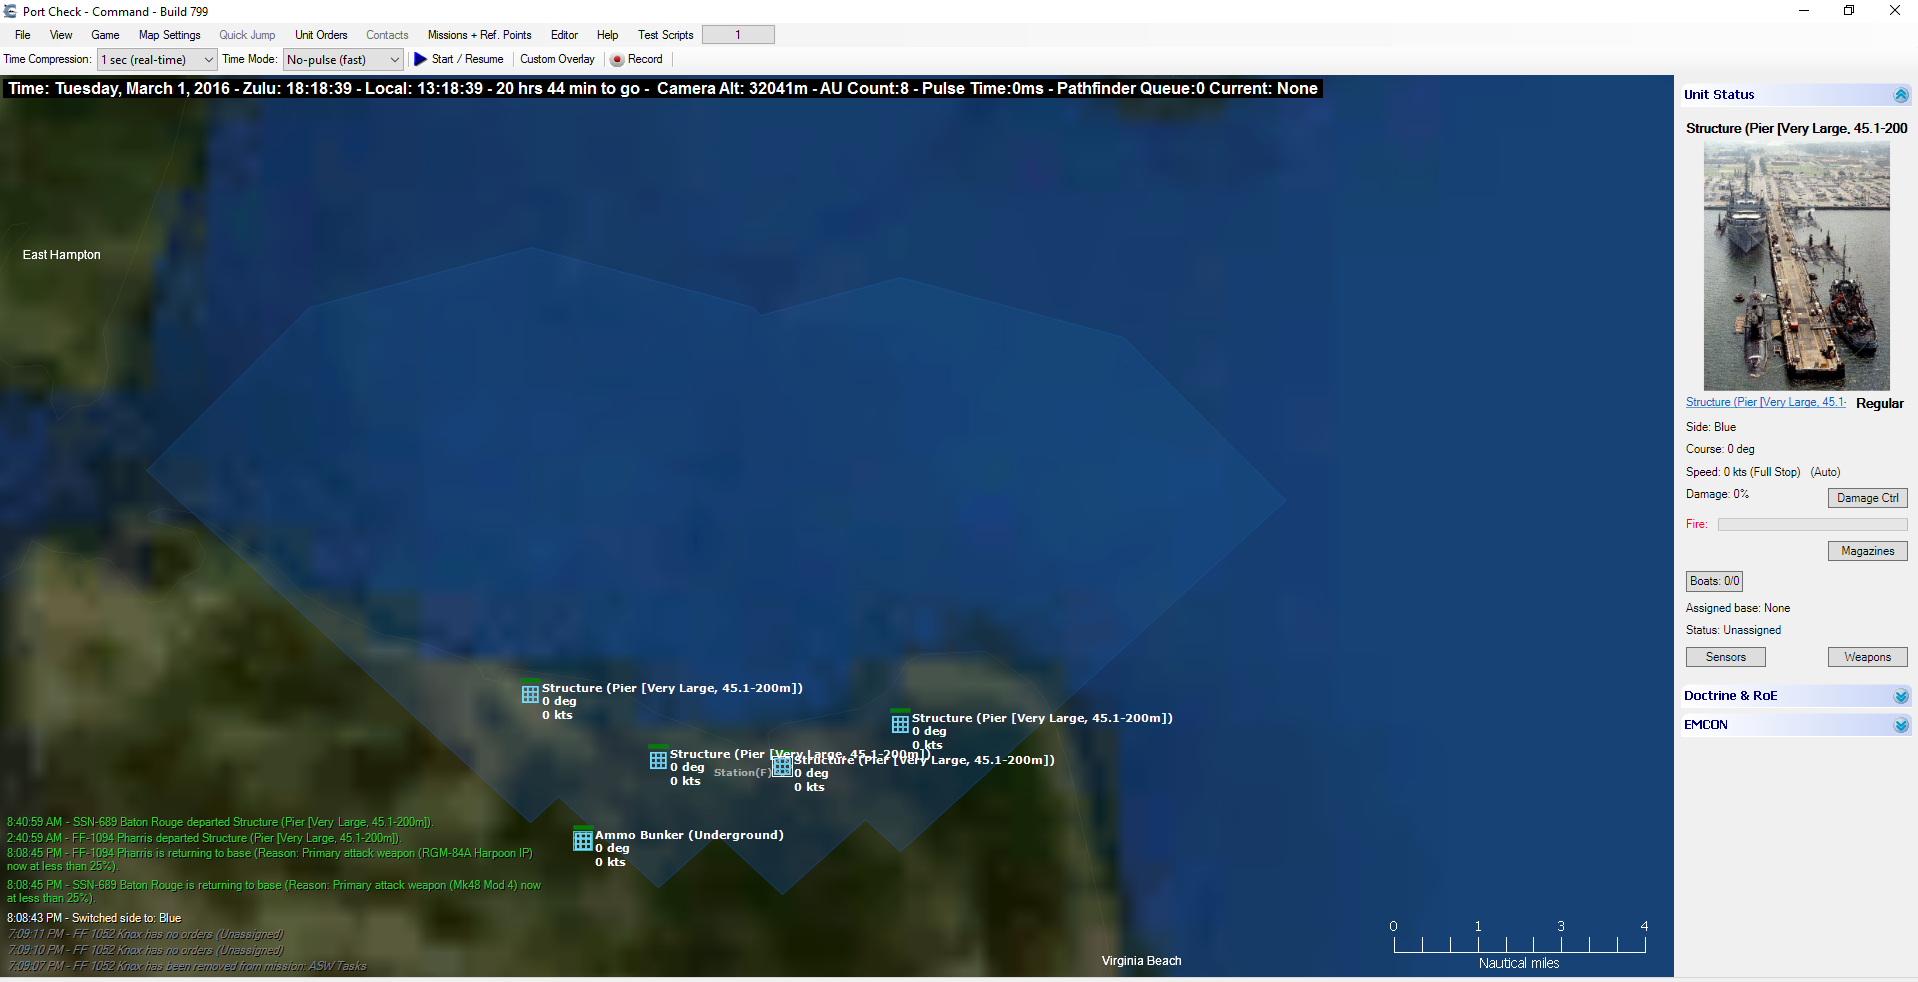
Pier facilities now extend passable “pier lane” areas around them that allow ships to navigate to pier areas even slightly inland (similar to canals). This allows true-to-life positioning of pier facilities without having to flatten the terrain data around them in order to make them accessible.
The light-shadow polygon is the “pier lane” area projected by the multiple pier facilities inland. Ships and submarines can freely traverse this area (even though terrain is nominally present) to navigate in and out of the piers.
Once a ship docks to a pier (or parent ship), the process of refuel, repair and replenishment begins. Both refueling and rearming happen at faster rates than on UNREP hookups as the docking condition allows for a stabler environment and more extended facilities and tooling. In addition, while a ship underway can perform repairs only to minor component damage and cannot repair structural damage, docked units can perform repairs on medium- and heavily-damaged systems, and can also repair their structures.
Replenishment rates have been given a thorough overhaul in v1.11, both for pierside and UNREP modes. Light weapons can be loaded quite fast as before, but heavier weapons (particularly heavy gun shells or large bombs, missiles or rockets) can take hours to transfer and load.
Readying a ship for redeployment differs from aircraft turnaround in a number of ways. Ship preparation typically takes far longer than aircraft (except for very small boats), and in contrast to an aircraft, a ship is perfectly able to put to sea again while still in far from optimal condition. Accordingly, the player can order one or more ships to redeploy while they still have damage, or miss weapons and fuel.
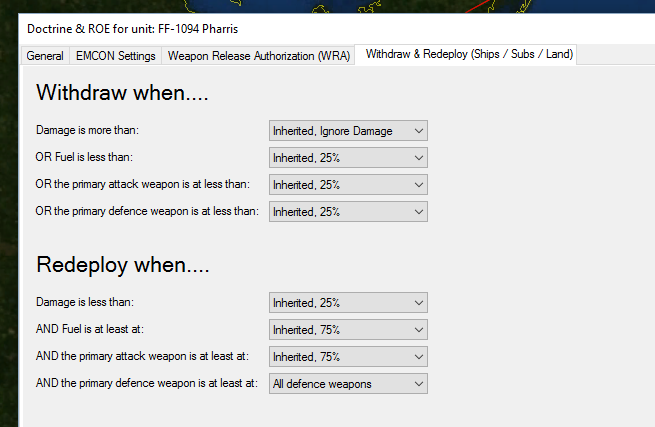
This sounds simple enough for manual control, but what about AI control? How do AI-controlled ships decide when to disengage from frontline operations and when it makes sense to stop repairs etc. and re-deploy? To enable the AI to make reasonable decisions, a new set of doctrine settings (Withdraw / Redeploy criteria) are added:
The status of each of those aspects is continuously tracked and evaluated against the doctrine threshold and a ship will withdraw from its mission if any of the withdrawal criteria are reached. Conversely, while docked, these criteria are regularly checked and a ship is allowed (by the AI) to re-sortie only if everything is “green across the board”. The player of course can still order nay ship to sail immediately regardless of its condition.
These new settings allow tailoring the withdraw and redeploy behavior of a ship to its unique strengths / weaknesses as well as to the needs of her mission tasking. For example an anti-aircraft escort may be set to ignore depletion of its offensive weapons, fuel and any damages to itself and withdraw from the line only when its defensive (AAW) armament is depleted. Conversely, a sensitive high-value unit may be configured to withdraw immediately on the first scratch of damage.

Busy day at Norfolk. Both the frigate and the fast attack sub are fine on damage and fuel, but both are short on ammo. Will you wait for them to re-arm (which may take a while!) or flush them out to sea immediately? Choices, choices…
The redeployment criteria allow the player (or scenario author) to make his own decisions on how “ready” he wants his ships to put out to sea again: Does he wait until every last bit of ammo is restocked? Is it enough to repair damage and get refueled? Remember, while your ships are in port they are not out to sea and the enemy gets a free pass. Obviously there is no single “best” answer, and the theater/operational exigencies (as well as time pressure) are likely to force the player to make decisions that he is not entirely happy with. Real-life ops are very often a compromise, and Command reflects this.
The implementation of pier ops in Command, even in its “raw”, unpolished form in v1.11, is a huge step forward in expanding the scope of the game into the theater/strategic scale. Numerous players have asked for the ability to fight out to air and sea, then get their forces back in port and repair/ready them as possible, and get out there to fight again. v1.11 is the answer to their prayers. We hope implementing this along with our substantial lua scripting and event editor features will encourage editor’s and players to explore longer duration scenarios.
The scenarios of the Falklands campaign
 The release of the new “Falklands” campaign pack is getting closer.
As always, this release will be accompanied with a new CMO update with the latest database versions.
Let us take a look through the scenarios in this historical (with a sprinkle of hypotheticals) battleset that recreates the famous 1982 conflict in the South Atlantic, created by a real-life veteran of this campaign.
Taking back the occupied island of South Georgia was the necessary first step in the Royal Navy’s campaign to re-take the Falklands. Accordingly, a destroyer group led by HMS Antrim was sent near the island to conduct reconnaissance operations.
On 24 April, the Antrim group was informed that an enemy submarine was operating in the vicinity. This alarming news caused the withdrawal of the group’s support vessels to the north, to safer waters.
During the early morning hours of 25 April, Antrim’s Wessex helicopter spotted a surface contact exiting from Grytviken harbor. What was the Argentinian garrison up to?
Early on the morning of the 1st of May, a lone Vulcan bomber attacked Stanley airport after taking off from Ascension island and air-refueling repeatedly; this was the longest-ranged recorded bombing mission in history.
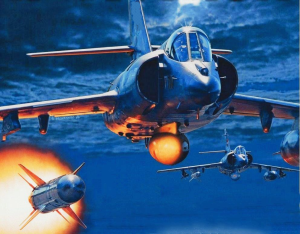
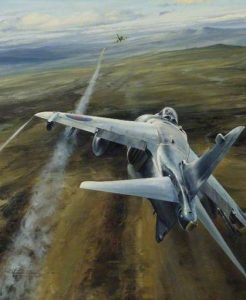
Less well-known, but arguably more important, was a series of follow-up attacks by Sea Harriers launched from the RN task group, striking Stanley airport again, with a further strike on Goose Green airfield.
Argentine forces were caught unaware by the Vulcan strike, but were now fully alert and expecting the follow up strikes by the “Shars”. After the Vulcan had wacked the bee-hive, this would be anything but a cakewalk.
This scenario has been enhanced with the “Fog of War” aspect – therefore expect the unexpected.
On the 27th of April, the Argentine fleet sailed from its bases and headed towards the last reported location of the British naval forces. The majority of the Argentine Navy, including its aircraft carrier ARA Veinticinco de Mayo, was now at sea. Its mission: to find and engage the British task force, and either destroy it outright or inflict enough damage to force it to withdraw from the theater.
The overall Argentine plan was to conduct a three-pronged “pincer” attack on the British fleet, using the General Belgrano group as the “Southern force” (designated Task Group 79.3), the aircraft carrier group to the north-west (Task Group 79.1) and an Exocet-armed corvette group (Task Group 79.4) further north.
The northern prongs of the pincer were closest to the estimated location of the RN ships (and they also comprised of the most modern assets, with a an aircraft carrier loaded with capable attack aircraft, plus several missile-armed warships), so they would probably attack first; Belgrano’s gun-armed TG79.3 would subsequently close-in from the south and contribute to the battle once British forces had hopefully been weakened and scattered. The attack was also going to be supported by airforce land-based assets.
On the 30th of April, their intelligence indicated that the British carrier group was to the North-east of the Falkland islands. Since arriving in-theater, the British fleet had declared a 200nm Total Exclusion Zone (effectively a “stay out of here or be fired upon, no warnings” zone) around the islands. To avoid providing a political justification for the British to attack them first, all three Argentinian task groups stayed at the edge of the TEZ limit, waiting for the RN carrier group to show its hand.
They didn’t have to wait long: On the 1st of May, Argentinian-occupied airfields in the Falklands were attacked by multiple directions, first by a Vulcan bomber and subsequently by Sea Harriers from the RN task group.
The British fleet had done its part in the airfield raids, but by doing so it had revealed its rough location. Airforce attack aircraft in the Argentian mainland were primed and readied, and the Veinticinco de Mayo prepared her hosted airwing of A-4Q attack aircraft for an “alpha strike” on the British group (with the Hermes & Invincible being the priority targets), and sortied its S-2 patrol aircraft to get a final fix on the RN group before attacking. The first post-WW2 carrier battle was about to commence.
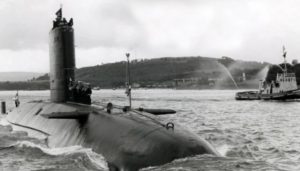
On the afternoon of 1 May, the Churchill-class nuclear submarine HMS Conqueror reported that she had sighted the Argentine “pincer’s” southern prong (Task Group 79.3), composed of the elderly cruiser ARA General Belgrano (ex-USS Phoenix) and her missile-armed escorts. Conqueror then shadowed the southern force throughout the night and early morning of 2 May, making frequent reports to Northwood.
Admiral Woodward was heavily concerned about this Southern force. Since arriving in theater, the British fleet had declared a 200nm Total Exclusion Zone (effectively a “stay out of here or be fired upon, no warnings” zone) around the Falklands. All the pincer elements, including TG79.3, had so far stayed just outside the TEZ, to avoid giving British forces a political excuse to pre-emptively attack them. From Woodward’s operational picture, however, it was clear that the pincer forces were about to step into the TEZ and begin converging on the British fleet, and Belgrano’s group would soon sprint north-east to contribute to the decisive Argentinian attack. Furthermore, by doing so it would quickly move through Burdwood Bank’s shallower waters, making it more difficult for Conqueror to shadow the group and remain in ready-to-attack position.
Woodward had no other assets in close proximity to use against this task group; if Conqueror lost contact with them, they might well be re-acquired too late, maybe even just as they closed upon the British ships and attacked them. Clearly this was an unacceptable prospect, and a decision had to be made.
A request for modification to the standing rules of engagement (specifically to deal with the threat of TG79.3) was quickly passed up the chain of command, and eventually put before the PM’s War Cabinet. The matter was discussed, and the decision was made to approve the attack. Conqueror was given the green light to close with and attack General Belgrano’s group – the first time a nuclear-powered submarine would draw blood.
Following the sinking of the General Belgrano, and the surface navy’s hurried withdrawal from the Falklands theater, Argentina’s hopes for striking the RN task force now fell to land-based air assets (plus any available submarines).
The Argentine armed forces had been severely crippled by the recent EEC embargo. This was especially so for the Argentine Navy’s Second Attack Squadron, equipped with Super Etendard. The squadron had received only five of its 14 ordered aircraft, and only five of ten of the air-launched versions of the Exocet antiship missile.
The pilots hurriedly developed a testing and training plan to prepare themselves for the arrival of the UK Task Force. They studied radar manuals for the Type 42 destroyers, developed their own tactics and exercised against the Argentine naval units (including, ironically, Type 42 destroyers recently purchased from the UK!) to test both tactics and aircraft.
P-2 Neptune MPAs were included in the training, to be used as scouts to detect the ships of the Task Force and vector the strike aircraft toward their targets.
On May 4th, after a P-2 located the forward SAM-picket line of British ships, two Super Etendards of the 2nd Attack Squadron took off from Rio Grande airbase, preceded by a KC-130 tanker. Their primary targets were the British carriers, but any major RN warship would do. Exocet, the archetype of Western heavy antiship missiles to this day, was about to get its baptism by fire.
What if the remaining Argentine submarines were fully operational at the start of the Falklands War?
ARA San Luis, Salta and the recently re-activated ARA Santiago del Estero (sister to the scuttled Santa Fe) have re-deployed to the East of the Falklands to try and engage and sink the British aircraft carriers.
The UK Task Group has retired to the East of the Falklands for refueling and maintenance during the night, before conducting further operations.
Before British forces landed on the Falklands, extensive reconnaissance of the possible landing sites were conducted by Special Forces and units of the British task force.
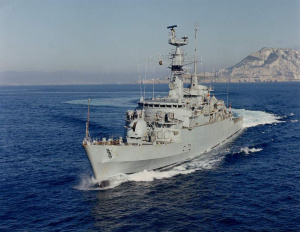
The frigate HMS Alacrity surveyed the entrance to Falkland Sound, primarily to confirm the navigability for large ships (especially the large landing ships of the task force) and to determine if the Argentines had mined the channel or had other surprises in lay.
The RN task force needed to verify the hydrographic data for Falkland Sound, and to determine if the Argentines had mined the northern entrance to the straits. To do that, Alacrity had to make a South-to-North transit of Falkland Sound – and brave all the threats that could lurk at this narrow passage…
Pebble Island lies just to the north of West Falkland. Besides a small settlement of about 25 souls and sheep, there was a short grass airfield on the island.
Upon occupation, the Argentines moved two detachments of short take-off ground attack aircraft (IA.58 Pucara and T-34 Mentor) to the airfield. Despite the kill tallies already racked up by the RN’s Sea Harriers and SAM destroyers, air superiority over the islands was still hotly contested daily (particularly as most Sea Harriers were busy guarding the fleet and so could not afford to establish permanent CAPs over the islands). So once British soldiers were on the ground, if left unmolested these ground attack aircraft could do grave harm to them in the barren terrain of the Falklands.
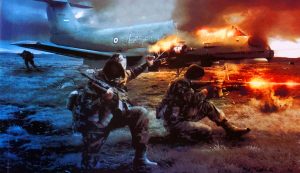
Partially for these reasons, the British High Command ordered the 22nd SAS Regt to conduct a pre-emptive raid on the airfield, long before the Royal Marines and their amphibious ships arrived. The SAS had been originally forged in Axis airfield-busting raids during the campaign for North Africa in WW2, so for the 45 tasked members of D squadron this mission was truly a return to their roots.
With the Falklands Sound cleared and nearby threats eliminated, the main British landing force was now able to disembark. The task force sailed into San Carlos waters during the early hours of May 20th, and conducted an unopposed landing on 3 beaches, managing to offload the majority of 3rd Commando Brigade.
There was light resistance from surviving local Argentine units, but these were suppressed by Special Forces teams landing earlier that evening against Fanning Head.
News of the landings reached Argentina, and as expected they caused an immediate and massive reaction. The majority of surviving and available air assets were tasked with an all-out attack on the British landing force. While most of the troops were on the ground, most of their supplies and heavy equipment were still on the big amphib and cargo ships; without them, their chances of defeating the Argentinian occupying forces were slim. And by necessity, until they finished unloading, the ships and their escorts were sitting ducks.
For the British ships and forces in San Carlos, May 20th was the easy part. The next day would be a whole other story: virtually everything in the Argentine inventory that could fly and bomb was coming for them.
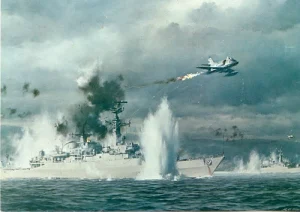
As expected, the Argentinian air force (and naval air-arm) threw everything they could at the British landing forces at San Carlos, beginning from the morning of May 21st. Early results were less than hoped, with some ships damaged but only one sunk (HMS Ardent) and none of the big amphibs taken out of action. This was due to a combination of factors:
- Due to the long distances, even with air refueling most Arg aircraft had very limited time-over-target available. That meant very limited time margins to detect surface targets, prioritize, and line up for an effective attack (and evaluate damage, and re-attack if necessary). Even something as basic as lighting up afterburner to evade an incoming missile (prior to attack) may well deplete the last fuel reserves and force an attacking aircraft to choose between aborting and returning to base, or pressing with the attack and (regardless of its success) ditching afterwards, short of fuel. In different cases, both choices were taken.
- The anti-air defences put up by British forces in the landing area were simply murderous. Sea Dart and Seawolf were both highly capable SAM systems (when they worked) and both racked up repeated kills, and additional Rapier SAM launchers were rapidly deployed on the beachhead. But it was really the curtain of anti-aircraft artillery, everything from infantry rifles all the way to ships’ main guns firing airburst rounds, that created a seemingly impenetrable wall of fire for the Argentinian pilots to fly through.
- Finally, Sea Harriers from the two RN carriers were able to mount both standing CAP patrols and deck-launched intercepts, and took a heavy toll on the attacking aircraft, using both their powerful 30mm cannons and the brand-new AIM-9L Sidewinder missiles that, for the first time, allowed all-aspect shots and thus conferred to them a decisive advantage.
Due to exceptionally bad weather on the 22th, air attacks on that day were postponed. This gave both sides time to rest (and to the RN landing force to unload more troops and material in peace), evaluate what worked and what didn’t, and prepare for the next day.
May 23rd dawned with much better weather, and Argentina’s air armada set out for Round 2. British defences were more extensive and better prepared now, and the Argentinian crews were knowingly stepping into air defences that Hanoi, just 10 years ago, would have envied. Some of these brave pilots would not be coming back.
I think the Argentine pilots are showing great bravery, it would be foolish of me to say anything else. — John Nott, British Defence Minister
May 25th was the Argentine Independence Day, a celebration day for the country. Thus it became important for general Galtieri’s government to demonstrate a significant military success in the Falklands operation, if only for this day. Undeterred by the relatively poor results of the attacsk during the last few days, the air force was instructed to perform an all-out attack on the British forces, disregarding losses.
As the San Carlos landing was finishing up by this point, the attacks this time were split between amphib ships still in the valley, warships and logistics assets stationed outside the Sound, and other ships still east of the islands (incl. the carrier group).
HMS Coventry (a Type 42 destroyer) was stationed off Pebble Island and close-covered by HMS Broadsword, a Type 22 frigate. Positioned there to provide coverage for the amphib force, they would draw a major portion of the attack on that day.
To the East of the Falklands remained the bulk of the RN Task Group, including the Hermes & Invincible; with them was a number of Merchant ships including the MV Atlantic Conveyor, carrying much needed heavy-lift helicopters and replacement Harrier GR.3s.
The Argentinian pilots were explicitly instructed to destroy one or more significant British assets, or else not bother returning. On their national celebration day, they had nothing to lose…
Raging for revenge, with Ate by his side come hot from hell, shall in these confines with a monarch’s voice cry ‘Havoc!’, and let slip the dogs of war. – Julius Caesar, William Shakespeare
By the 1st of June, British ground forces at Falklands were bolstered by the arrival of 5000 new troops of the 5th Infantry Brigade. Major General Jeremy Moore now had sufficient force to start planning a full-scale assault on Port Stanley, the main stronghold of the Argentinian garrison.
This fresh arrival was observed by the Arg forces, and swift pre-emptive action was decided before the bridgehead was established, to give their troops at Stanley more time to hold their ground. By now the Argentinian airforce (FAA) had been decimated by its heavy losses, particularly during the San Carlos strikes. But the surviving crews were now bloodied veterans, and they could still mount one last big air offensive.
On June 8th, as the new reinforcements were being transferred by the amphibious force at Bluff Cove ashore, the ships came under air attack by A-4s of the 5th Air Brigade. British intelligence estimates assumed that the FAA, having suffered grave losses in the weeks before, would be unable to substantially interfere with the landing operation. They were about to be proven deadly wrong.
The Royal Navy routinely shelled Argentine positions around Port Stanley, during the attack on the Two Sisters Mountain Range Royal Marines met stiff opposition from well dug in Argentine troops and again called for Fire Support from the Royal Navy.
HMS Glamorgan has returned on station from Replenishment of Stores and Fuel, but as the Falklands Campaign reached its climax when both ships were recalled to support the Royal Marines fighting the Battle of Two Sisters.
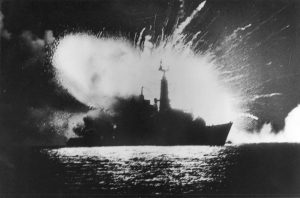
During the morning of Saturday 12 June, Glamorgan was engaged by one Exocet missile fired from a land-based launcher.
 Bonus #1: The Empire Strikes Back
HMS Ark Royal, an Audacious-class aircraft carrier, was Britain’s last catapult flat-top to this day. Originally a WW2-era design, she was heavily modified (including the first-ever angled flight deck installed on a carrier) to operate Phantoms, Buccaneers and Gannet-AEWs throughout the 60s and 70s. She was retired in 1979.
In this hypothetical scenario, a service-life extension program (SLEP) in the mid/late-70s has granted a few more years of useful service to the old ship, and allowed her to join Hermes in lieu of the never-built Invincible in the Falklands campaign. As part of the SLEP, her obsolete Gannet-AEW aircraft have been replaced by modern E-2C Hawkeyes, and Seacat SAMs have been fitted to improve terminal defences.
The Ark Royal CVBG is now in the area of operations, and has been ordered to conduct strikes on the Argentine airfields in the Falkland islands.
This scenario has been enhanced with many “Fog of War” aspects; therefore expect the unexpected…
The Exocet strike that sunk HMS Sheffield confirmed the worst fears of the RN about the capabilities of this weapon, and its potential to disrupt (or even shut down entirely) operation Corporate. As a result, neutralizing this threat became a high priority, and several courses of action were considered.
One of them, called Operation Mikado, was a proposed plan to use Special Forces to infiltrate the Rio Grande airbase (in mainland Argentina) and destroy the Super Etendard aircraft hosted there together with their Exocet missiles. The initial concept was to land two C-130 Hercules on the runway, loaded with SAS troops, and perform an “Entebbe-style” lightning raid to destroy the aircraft & missiles. After the raid, surviving SAS members were to make their own way back via Chile if the Hercules were destroyed.
The plan was given an initial green light with caution, and as preparation for the raid, an advance SAS team landed on the Tierra del Fuego peninsula by Sea King helicopter, in order to recon the area and evaluate the feasibility of the C-130 plan.
Their report was mostly negative, and together with other developments Operation Mikado was shelved.
But what if other options on the table had been approved…?
The new features of Chains Of War: Cargo, amphibious and airdrop operations
 The public beta phase of the v1.12 update (the companion to the upcoming “Chains Of War” DLC pack) has been concluded, and the “Gold” version is now going through the production paces. We have already covered most of the new major features in the DLC, such as communications disruption, aircraft damage and the new weapon types. Today we are looking at arguably the most anticipated new feature of v1.12: Cargo, amphib and airdrop operations.
NOTE: This feature requires Chains Of War to be installed.
“Professionals study logistics”
 Faithful representation of landing & airdrop operations was a high user request even back on the early alpha development days of Command. The v1.0 release shipped with a respectable system that combined the new docking-operations ability and the rich new capabilities offered by the powerful event editor (and later Lua), the classic example being along the lines of “once amphib/transport/airdrop vehicle X reaches area/point Y, teleport/spawn unit-Z on the vehicle location to simulate the drop off”.
This worked, but was of course limited (for example the player was restricted in which areas he could disembark forces); poaw illustrated the limits of this system hilariously in his not-a-review of CMANO v1.0. We were aware of these restrictions and have been gradually working on “something better”.
Probably a lot better.
Transportable forces, and the people who love carry them
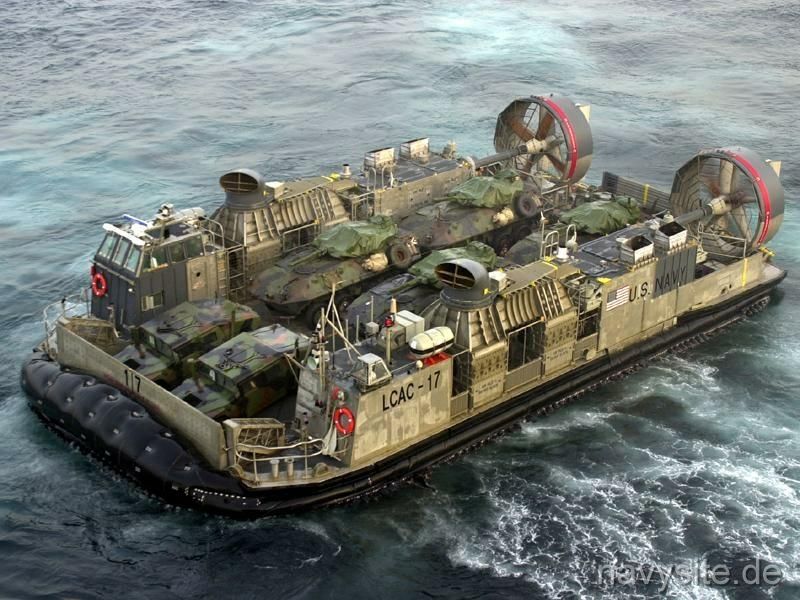 In Command’s terminology, all units that that can be transported by other able units are counted as “cargo”. This can cover anything from foot infantry up to super-heavy vehicles or transportable facilities. In order to realistically restrict what any unit can carry, we had to expand the available information both for the units marked as carry-able and the units that can act as transports:
- For transportable units, the volume, weight and crew properties are populated in the databases. The general type of the unit is also delineated as one of five basic types (personnel teams [Squads, MANPADS, ATGM], small cargo [Car, AAA Guns, light guided weapon], medium cargo [APC, Towed Arty, heavy guided weapon], large cargo [Tank, missile TEL, Trailer], and very large cargo [IRBM / ICBM TEL]).
- For units that can act as transports, their available weight, volume and crew limits are also present in the databases. Each unit also has a “maximum cargo type” indicator for the kind of load it can carry. For example, while you can cram quite a few people into a C-130 if you get creative, you cannot really load a medium tank on it (It’s been tried. Once.)
When the time comes to actually start loading, manually or automatically, these properties are cross-checked and either presented to the player as restrictions or obeyed by the crew AI in its decisions as to what to load where.
Transfer of units can occur both between one independent unit and another (e.g. personnel from one ship to another), or from a parent host to its hosted unit (e.g. from a pier to a docked ship, or from LPD to hosted LCAC), or from a host unit to any arbitrary point on the map.
The loading of able units in suitable hosts, as well as the actual transport from X to Z, can happen in either mission AI-driven mode or with direct player intervention.
By hand and heart
 Like every feature in Command, there is always the option to perform every action manually. Cargo is no different.
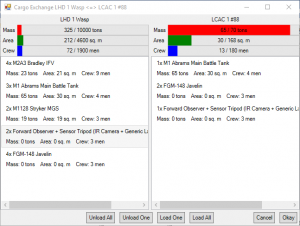
Pictured below is the interface for exchanging cargo between docked units and their hosts (think: hovercraft in the well-deck of a LHD, or a C-130 at an airbase).
This example illustrates a typical airdrop, with all the steps performed manually by the player:
And this video demonstrates transloading a heavy assault force from a naval base to a Wasp-class LHD that is currently docked at the pier, and preparing for an amphibious landing:
We’re on a cargo mission from God
So only the micromanagers get to have all the fun? No way! A new class of mission (“cargo mission”) has been added for those who prefer a more “hands off” approach (and of course for the benefit of non-friendly AI sides).
Cargo missions are broken down by the units (hovercraft, helicopters, aircraft) assigned to unload, and then by the cargo items themselves. Multiple cargo missions can be assigned to fine-tune the locations where the units are unloaded.
The mission progresses in a cycle, the units assigned to the mission load up units from their assigned base – either a ship at sea (LHD, LHA, CV etc) or an airbase – then take off, set course to the mission area reach the mission, then unload, and RTB. This continues until every piece of cargo has been unloaded.
Using our previous example with the amphibious assault force now in position, we can either manually again transfer the mobile units from the large amphib to its hosted LCACs and helicopters and fly/sail them to the beach…
….or we can create a cargo mission to handle the landing, and sit back and watch:
Looking forward
One future direction the cargo functionality could move in is allowing weapons to be moved from airbase to airbase by cargo aircraft. An example of this might be an embattled Norwegian airbase in the opening hours of WWIII eating through AMRAAMs like they were candy. Large stocks of AMRAAMs exist in bases in the UK, so let’s pack up 40x AMRAAM on the next C-130 flight heading towards the frontlines. There are quite a few similar use cases and we are open to community feedback as to which cases deserve development priority and why.
Next: The scenarios of “Chains of War”
Triple Aces: Command v1.11 has been released
 It took our longest-running public RC phase yet, but it was worth it. Command v1.11 is now available through the MatrixGames and Steam updaters, and joins our long list of major free updates.
To quickly recap why this is arguably our biggest v1.x release yet:
- Pier-docking Operations add a whole new operational/strategic dimension to CMANO’s gameplay: Ships and submarines can now dock to their parent hosting facilities (either a shore pier or a mother ship/sub) and refuel, re-arm and even repair their damages. Will you push your ships to the limit and risk withdrawing too late from the fight? Or too early and give your enemy free reign? Will you take your time to fully repair (and possibly let your enemy get away), or put back to sea too early and risk being outgunned? The choice is yours.
- Proper Winchester, Shotgun, Bingo, Joker and Chicken states for aircraft: Want your aircraft to do one-pass engagements and run away even with almost full weapons? Sure. Want them to fight until they’re flying on fumes? Check. Want them to retreat early and fight another day? Done. “My pilots don’t fight the way I want them to” is now officially dead as an excuse.
- Thoroughly revised air-to-air refueling mechanics and AI: Not only is the pilot AI a whole lot smarter on refuelling decisions, but the player is also given a lot more options to finetune refuelling plans if he wants to. Want to stick tankers to fixed orbits and serve anybody in need? Sure. Want them exclusively assigned to a mission instead? Check. Want them to tag along with the strike package and peel off after providing their fuel? Can do. With the v1.11 update CMANO leaves even many dedicated combat flight sims in the dust when it comes to refueling ops.
- ORBAT recon of air/naval bases: “The last satellite pass 4 hours ago showed that an additional 12 fighter-bombers had been moved outside from their shelters and parked on the perimeter revetments, probably in preparation of a major sortie. Accordingly, the raid leader adjusted the targeting and weaponry of the second wave; instead of blasting the hardened shelters with precision penetrator munitions, most of the strikers would sprinkle the open parking spaces with cluster bombs”. You can now do this stuff in CMANO.
- AGL altitude settings, stores jettison and mission player feedback: Sometimes it’s the little things that make a big difference. Your terrain-following capable aircraft can now go really down in the weeds and stay there. You can now define (with doctrine, so per unit, group, mission or entire side) which aircraft will jettison their heavy stores when under attack, to amnouver better, and which will hang on to them. What risks will you take?
- New submarine options: Submarine captains are now even smarter, more evasive and take better advantage of their diesel-electric propulsion and especially AIP capability. If you thought hunting subs until now was tough, prepare to be amazed.
- Last but not least: Massive performance/scalability gains: 3x to over 10x speed gains on large, complex scenarios. You read that right. And even more finetuning options for tailoring speed to your specific hardare & OS setup so you can squeeze every ounce of horsepower from your rig. Now bring on your world war creation. You know you want to.
Go get it! And enjoy.
Cat launch: Command v1.11 Release Candidate 1 now available
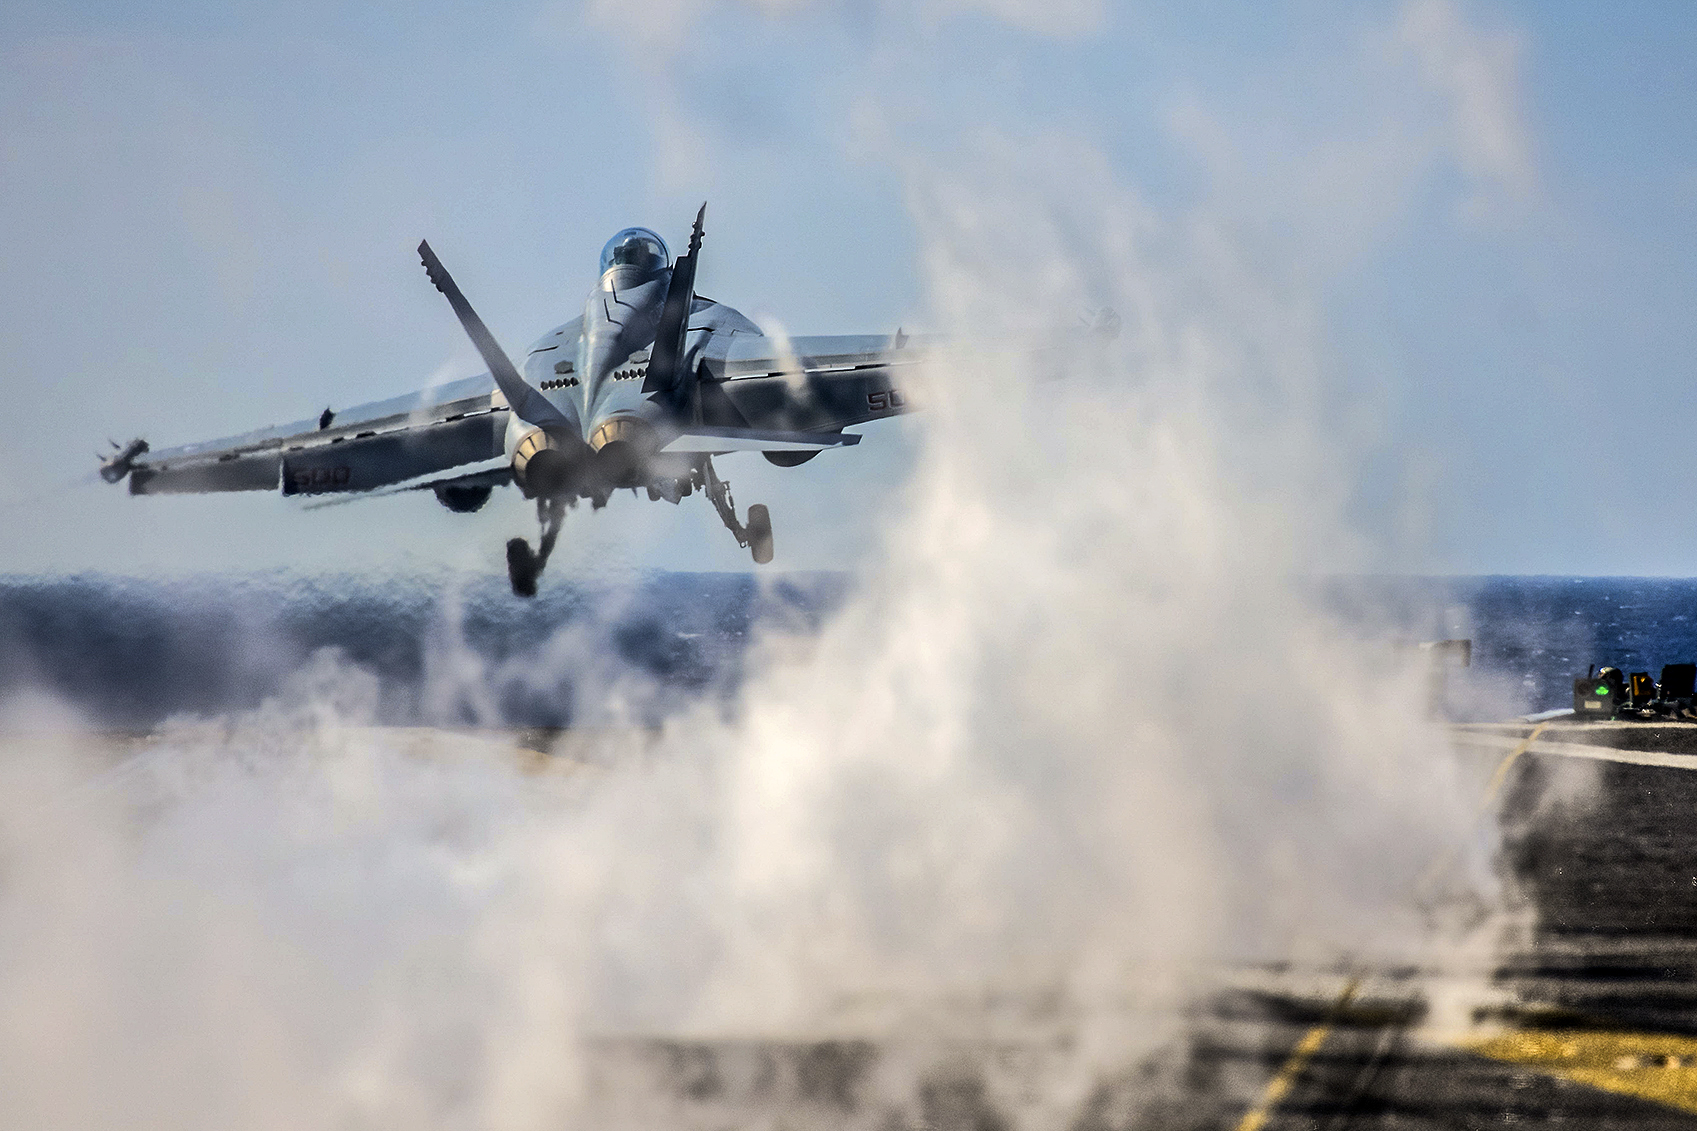 If our recent stream of posts describing the concentrated awesomeness of the v1.11 update has left you drooling in anticipation, you are in good company – and now, the wait is over. Release Candidate 1 of the new update is available for download.
Download link and the full release notes are on the Matrix Games forum.
If you have missed any of our posts on the key features of v1.11, here is a short recap:
- Proper Winchester, Shotgun, Bingo, Joker and Chicken states for aircraft
- Thoroughly revised air-to-air refueling mechanics and AI
- AGL altitude settings, stores jettison and mission player feedback
- Pier Operations and revised replenishment rates
- ORBAT recon of air/naval bases
- New submarine options and massive performance gains
Obviously this is a considerable number of changes and additions, so a careful examination of them will take some time. So give it a spin and let us know in the forums how to make it even better!


