Red Pill screenshots #4: Cans Only – Part II
Previously on “Cans Only – Part I”…
(Click on images for full size)
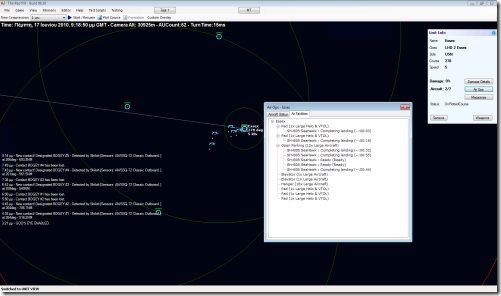
It’s a busy day for the flight deck crew of the Essex. Numerous helicopters are returning from the ASuW patrol and they must be turned around and launch again to continue their task.
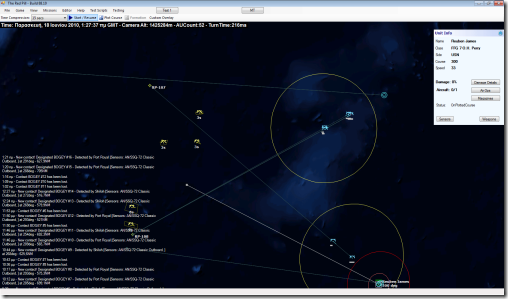
Just as the JMSDF player before him, the USN commander begins to make guesses on the enemy fleet dispositions based on the early passive contacts he has from the Japanese helicopters. The Japanese commander has been more careful in spreading his patrols so there is no obvious point of origin/convergence.
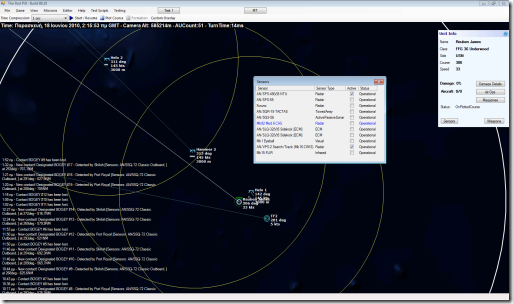
The USN commander decides on a tactical gamble: The frigate Reuben James will break off from the southern task force and sprint forward to act as an AAW picket, ASuW scout and hopefully a tempting lure for the adversary to show his hand. To prevent its early identification from its full radar emissions, only a select couple of widely-used radars will be active, the rest of the sensors will be passive or switched off.
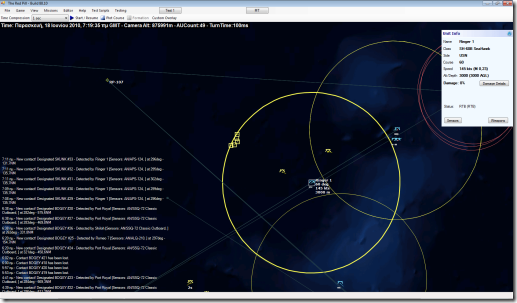
Contact! One of the US Seahawks has stumbled upon one of the two Japanese groups. They are not quite were the USN commander expected them, so he will have to adjust his plans.
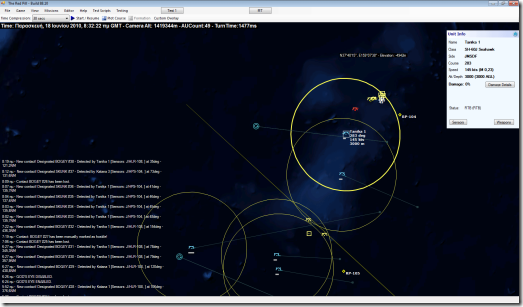
The JMSDF commander is not sitting idle either. One of his helicopters has spotted one of the American groups too, probably the northernmost one judging from its location. He doesn’t know if the Essex (the primary objective asset for both sides) is in this group or not, so he cannot yet commit a decisive force to this discovery yet. He does, however, re-orient his northern group to intercept these contacts and orders additional recon sorties by the available helicopters.
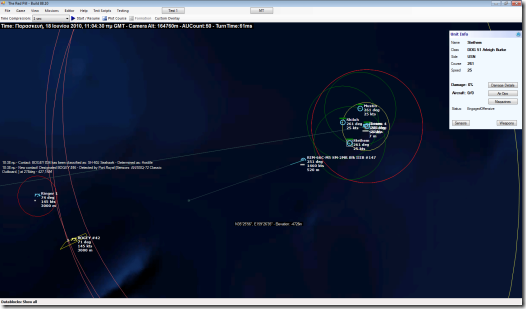
The Americans don’t like being under watch, and show it: A number of SAMs greet any Japanese helicopter that wanders too close, with mixed results.
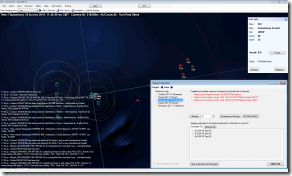
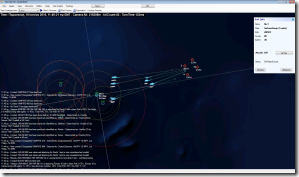
The JMSDF helicopters have taken severe losses while trying to identify the American ships, but their sacrifice has paid off. The Japanese commander has confirmed that the Essex is indeed amongst the detected ships and directs his nothern group to strike. As the southern group is too far to assist soon, this will be a solo effort. The northern group is about to coordinate an all-out SSM strike on the Essex group, with the Essex herself being the primary objective. The missiles are allocated and launched.
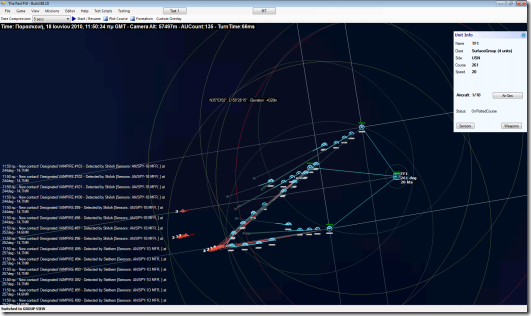
The US group has been monitoring the incoming Japanese ships and is in no way surprised by the attack. As soon as the incoming wave of SSMs is detected, the awesome power of Aegis kicks in: Not even a single anti-ship missile gets through! (The red lines are the terminal SARH illumination for the SM-2 missiles)
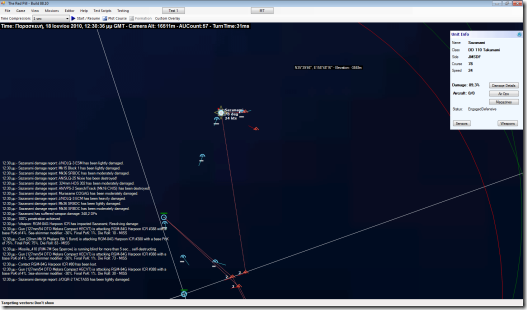
The US commander responds in kind, with a full SSM salvo of his own. The Japanese AAW is far less robust (only a single Aegis destroyer, and the ships are more dispersed). As a result, some of the missiles get through the defensive SAM fire and are intercepted by the terminal defences, decoyed/jammed or even manage to hit their targets as in this case. The destroyer Sazanami has taken serious damage (notice the damage report messages on the message log) and has to withdraw from the assault.
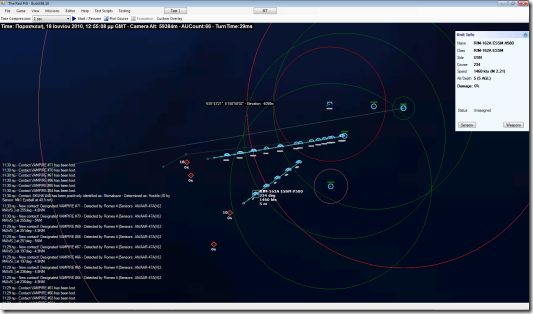
The opposing ships are now close enough to begin using their surplus SAMs in an antiship role. Neither side has many hits, however, and those who do hit cause little damage.
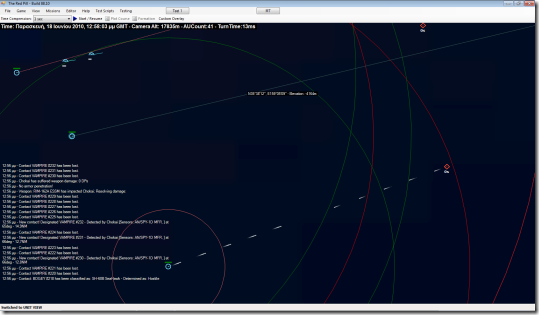
The Japanese ships have pressed on towards the Essex group despite the failure of their SSM attack and the losses suffered from the US counter-attack, hoping to get within gun range where their numerical superiority and heavy gun armament can make a difference. Now they get their chance! As most of the gun systems on both side’s ships are similar in caliber & range (mostly 76 & 127mm guns), they open fire almost simultaneously. The destroyers Shimakaze and Stethem engage in a vicious gunfight while the others ships are closing in.
(Note: The Red Pill uses an advanced CEP-based accuracy model for all anti-surface weapons – guns, bombs, missiles, rockets etc. In other similar sims, a given gun or missile has the same chance of hitting a high-speed Boghammar or a lumbering aircraft carrier – not so in RP. The CEP-based model takes into account a weapon’s nominal CEP and combines it with factors such as the shelling/bombing accuracy of the firing platform, the firing range, sea state (in the case of ship guns), target evasion etc. in order to produce an “actual CEP” value, which is then compared with the physical dimensions of the target to determine if a direct hit was made or not. If the target is a land facility or mobile unit, even near-misses mean that the weapon will impact the ground and can cause severe damage from proximity blast, fragments etc.)
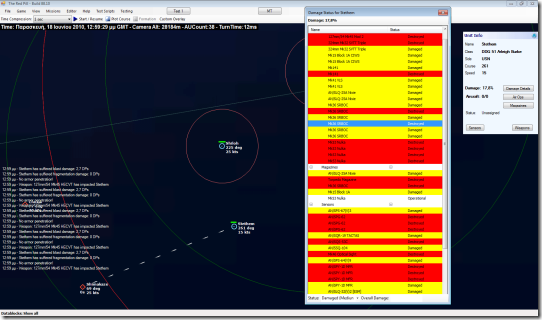
The Stethem has taken a fearful pounding from Shimakaze’s guns. Although hull integrity is still in relatively good shape, many of its weapons, sensors and other subcomponents have been damaged or destroyed by the relentless shelling (primarily due to the fragmentation effects), including the powerplant. It has to withdraw towards the Essex and out of gun range in order to retain some reserve combat capability. The Shiloh has been ordered to assist and is sprinting southbound but she may well be too late.
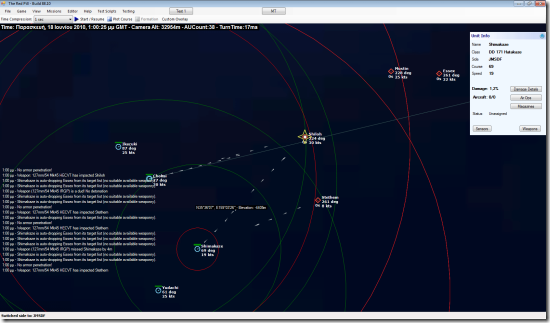
Chokai and Shiloh (and Mustin shortly afterwards) have been drawn into Shimakaze & Stethem’s gunfight, all ships shooting like there is no tomorrow. All participants receive tremendous damage from shell fire and will have to break off or risk being left dead in the water. The USN player plots a new northwestern course for the Essex in order to have it steer clear of the engagement and hopefully sneak around the Japanese group before they have a chance to break from the gunfight to intercept her. (If the Essex reaches the Tokyo area the US side wins regardless of losses).
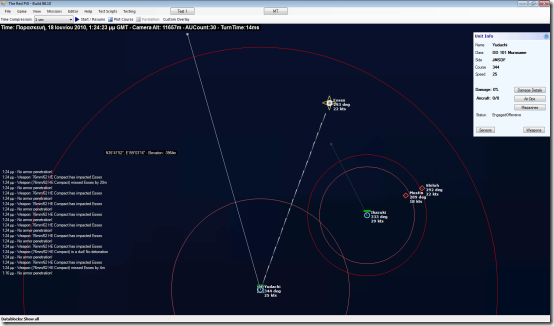
All of the ships that engaged in the gunfight have been forced to withdraw due to heavy damage to their weapons or powerplants. Mustin and Shiloh are supposed to screen the Essex on her northwestern course but their battle damage has made them too slow to keep up, so the USN player just charges the Essex ahead alone and hopes for the best.
Unfortunately for him, the JMSDF commander has deliberately kept an ace: the destroyer Yudachi was held back from the gunfight and now has a clear shot at intercepting the Essex. That it does, showering her with shells from her fast-firing 76mm guns.
(Here again the CEP-based anti-surface model favors the Japanese player: The Essex is much easier to hit than the US destroyers due to her sheer size, and the accurate, rapid-fire 76mm guns are having a field day.)
————
Shortly after the last screenshot was taken, one of Yudachi’s 76mm shells wrecked the Essex’s powerplant and stole any hope of her reaching Tokyo. The battle was over, with the JMSDF side winning (even though no single ship was actually sunk).
Overall impressions of the scenario and the simulation were very positive. Some previously undiscovered bugs and logic flaws were encountered during play; these were forwarded to the dev team and fixed (in two cases, before the end of the game). There was (and is) some intense debate as to whether individual captains should be given authority to use their SAMs in the anti-surface role, given that they are much less efficient in this domain and may leave the ships vulnerable to air/missile attacks afterwards. This will probably remain a hot topic for discussion.
Comments
Leave a Reply
You must be logged in to post a comment.


