


Nitro boost and DB magics: Command-PE v2.3.1 released
 Missed us? It hasn’t been long since the release of the big v2.3 update for Command-PE, and the dev team has continued to fire on all cylinders. Following the release of the Showcase: Icebreakers DLC and its accordant CMO update, it’s time to take the wraps off what we’ve been working on since last December: The v2.3.1 update for Command-PE is now available.
While the release notes for this update are their usual mile-long ones, two key items easily stand out: RAMDB and the performance improvements.
- RAMDB is, in a word, massive. In more words? RAMDB is an exceptionally powerful tool aimed at automating Command database edition, verification and version control. It is also a built-in database browser and comparator, and allows the generation of automated reports. To those among our pro customer base who have been asking for this for years: Your prayers have been heard and answered.
As an aside, the entire DBTools suite (which now also includes RAMDB) is now no longer a separate app bundled with the the DB-Editor, but instead has been merged right into the main CPE application. This may not sound like a huge change (and from a user’s perspective it’s not), but it finally opens the door to directly linking the functionality offered by DBTools (post-change validation, for example, or the calculation of highly-dynamic values) right to the actual simulation engine. As you may imagine, this creates a whole new world of possibilities hitherto impossible. - Speed improvements: One of the most common feedback requests we’ve received since the release of v2.3 has been for even more performance and scalability, to better exploit the potential unlocked with the transition to a 64-bit architecture. We are happy to say this process is well underway, and the first fruits are evident: v2.3.1 clearly demonstrates an across-the-board performance leap over v2.3, enabling even greater-scale analysis and wargaming cases.
As usual, the new update also benefits from all the fixes, tweaks and performance improvements of the recent CMO release, as well as the new content additions including the fantastic new versions of the DB3000 and CWDB databases.
The v2.3.1 update for CPE is now available to all existing users through their personalized pro portal access, while the development is team is already busy assembling the next major release. Stay tuned!
Command Showcase: Icebreakers released!
Get it at MATRIX GAMES or STEAM
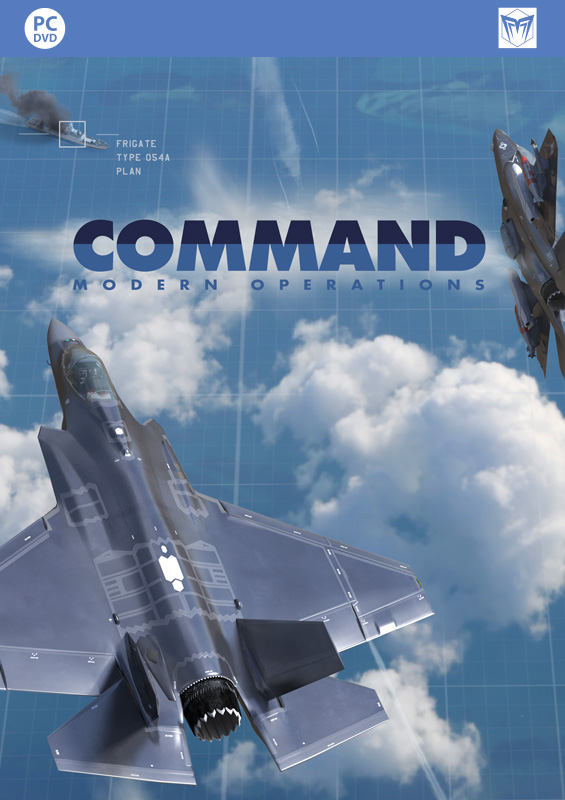
Santa’s coming to Defense town: Command PE v2.3 now available
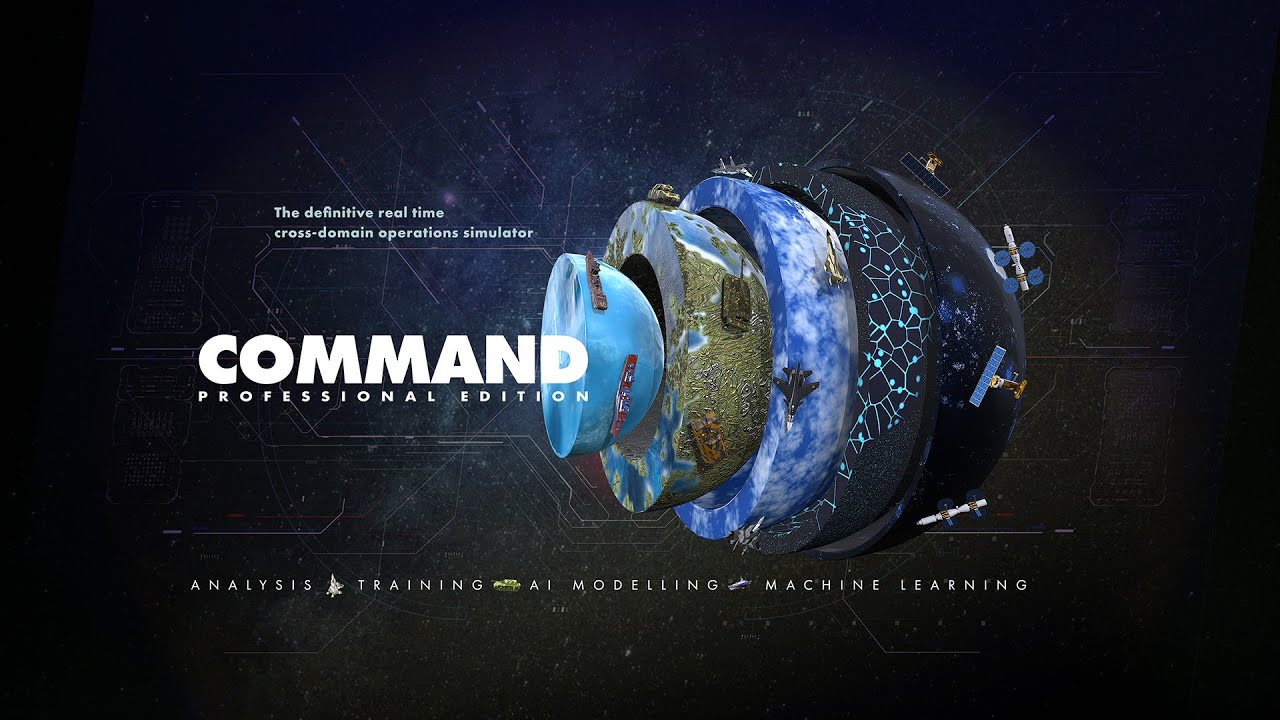 Boy, time sure flies past when you’re having fun. It’s been barely a little over half a year since the groundbreaking release of CPE 2.2, and here we are again with another milestone release for Command PE: Version 2.3 is now available for download by new and existing pro customers alike.
The v2.3 update follows closely on the steps of the commercial CMO v1.06 release, and leverages the numerous groundbreaking changes introduced in that update. Chief among them is undoubtedly the migration to a 64-bit architecture and the adoption of a brand-new, DirectX-11-based map engine.
Other new features include:
- Weather and the day/night cycle affect air sorties. Non-all-weather aircraft are grounded at night or in bad weather.
- C-RAM and counter-battery mechanics: Unguided rockets are no longer auto-detectable and unengageable: They can now be engaged by suitable weapons (Centurion C-RAM, Iron Dome etc.) but first they need to be picked up by sensors capable of detecting them. Sensors designed for counter-battery role can even backtrack the trajectory of a detected rocket or ballistic missile and provide a rough location of its firing point, thus enabling counter-battery fire.
- Target Priority Lists: Prioritize targets as part of doctrine settings. This makes it even easier to set up realistic targeting behaviors for the AI.
- Numerous UI tweaks and improvements such as revised zone management and mouse-driven selection on zones and patrol areas.
- Proximity-fuzed airburst round mechanics: Much more realistic modeling of proximity flak, a weapon/fuze type critical in WW2 and currently making a big comeback as a drone & PGM killer.
- New weapon type: Directional high-power microwave (HPM) projector weapons (aka “EMP guns”). Two distinct subtypes of EMP projectors are currently modelled: Mechanical antenna emitters like AFRL’s THOR/Mjolnir prototype, which emit a broad “broom sweep” EMP beam to effect single or multiple enemy units concurrently, and AESA antenna emitters like Epirus’ Leonidas system, which are able to form and direct multiple tight beams concurrently in order to defeat multiple threats.
- Per-sensor mast height. Different horizon ranges and LOS clearances for different sensors on the same platform.
- Terrain type-dependent skyline / land-cover heights. Some units can fly between treelines or buildings, or pop their mast-mounted sensors above the local vegetation to get a clearer look of the battlefield.
- Proper “QuickSink” mechanics: If you’ve seen any of AFRL’s videos on QuickSink then you know the tremendous potential of this new JDAM fuse, and the implications in any future maritime theater.
- Decoy mobile platforms: Can use entire full-kitted platforms as realistic-looking decoys.
- Rudder as a discrete component on ships & submarine, and rudder mechanics (incl. damage/destruction). If you’ve ever wondered by big ships and submarines feel very sluggish on turns, or are curious how the battleship Bismarck was significantly degraded after its rudder was stuck by a lucky torpedo hit, you can now find out.
- New OpenTopoMap layer: A superb layer for topography and road & urban networks that effectively replaces the now-retired Stamen map layers.
- Weapon-deployable platforms: For example, transport and launch child aircraft from parent aircraft (e.g. D-21 and WZ-8 recon drones).
- Numerous fixes and improvements on DIS connectivity – including a new start-up window for configuring the selected NIC as well as all other DIS-related properties.
- Numerous additions to Lua event hooks with new hook types such as UnitMovesBefore, UnitMovesAfter and OnStatusChange.
- The latest sim database releases with thousands of additions and tweaks.
In addition, v2.3 is the first CPE version eligible for submission into the ATO (Authority To Operate) process, with the goal of formally certifying its suitability for mass deployment into combatant commands, front-line units and other high-security environments.
CPE v2.3 is available for download to all customers through the Matrix Pro Sims personalized portal. Get it and turbocharge your wargaming, analysis and training capability today!
Command Showcase: Operation Desert Falcon released!
Get it at MATRIX GAMES or STEAM
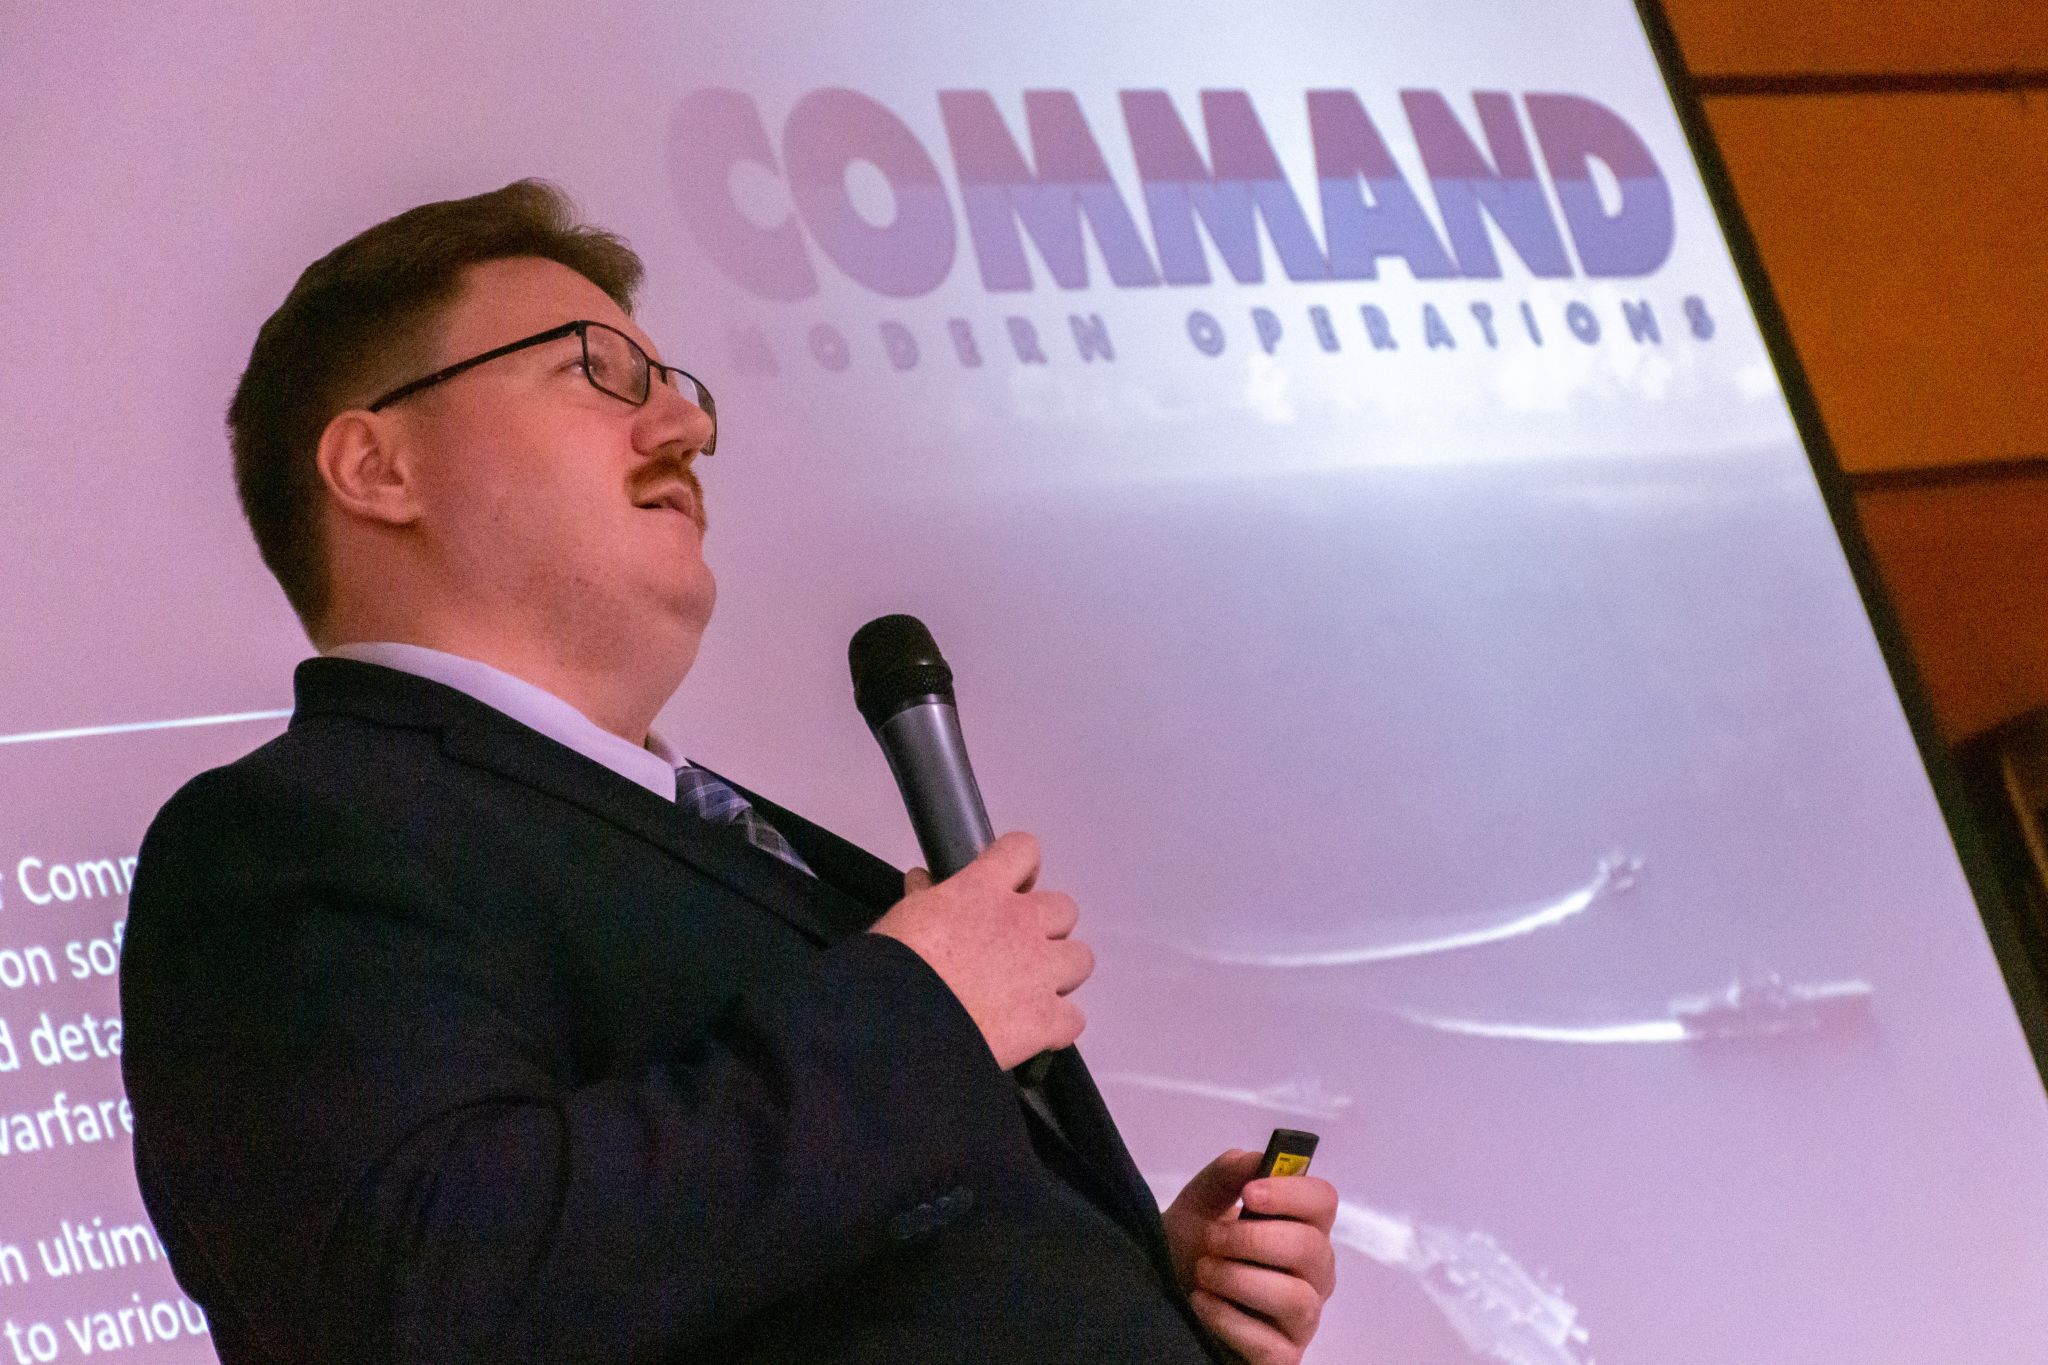
10th Command User Event in Rome: A Confluence of Defense Innovation
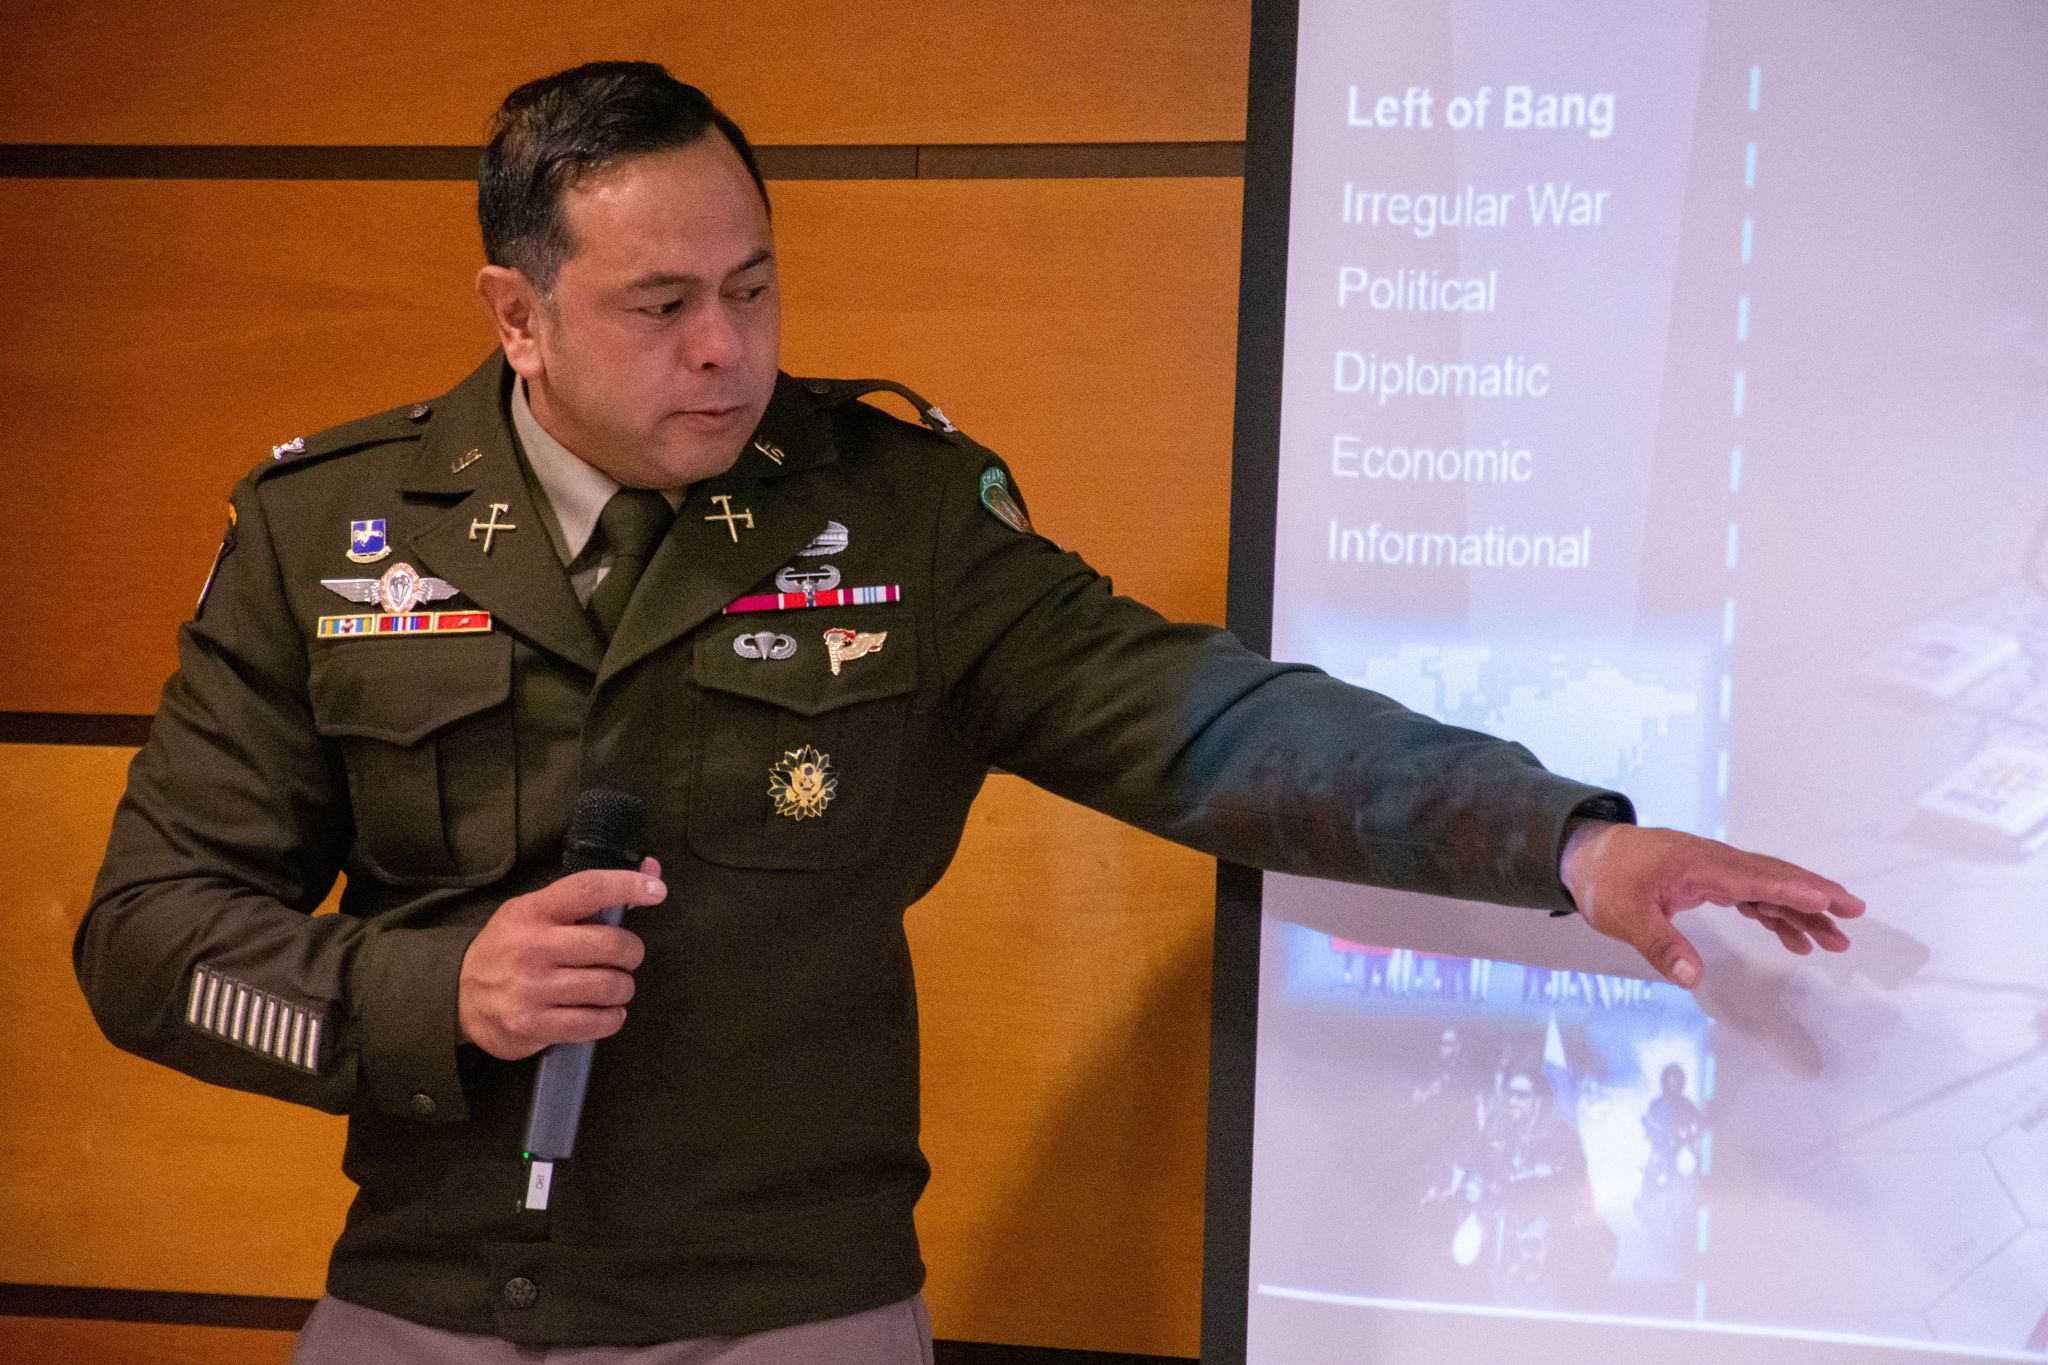
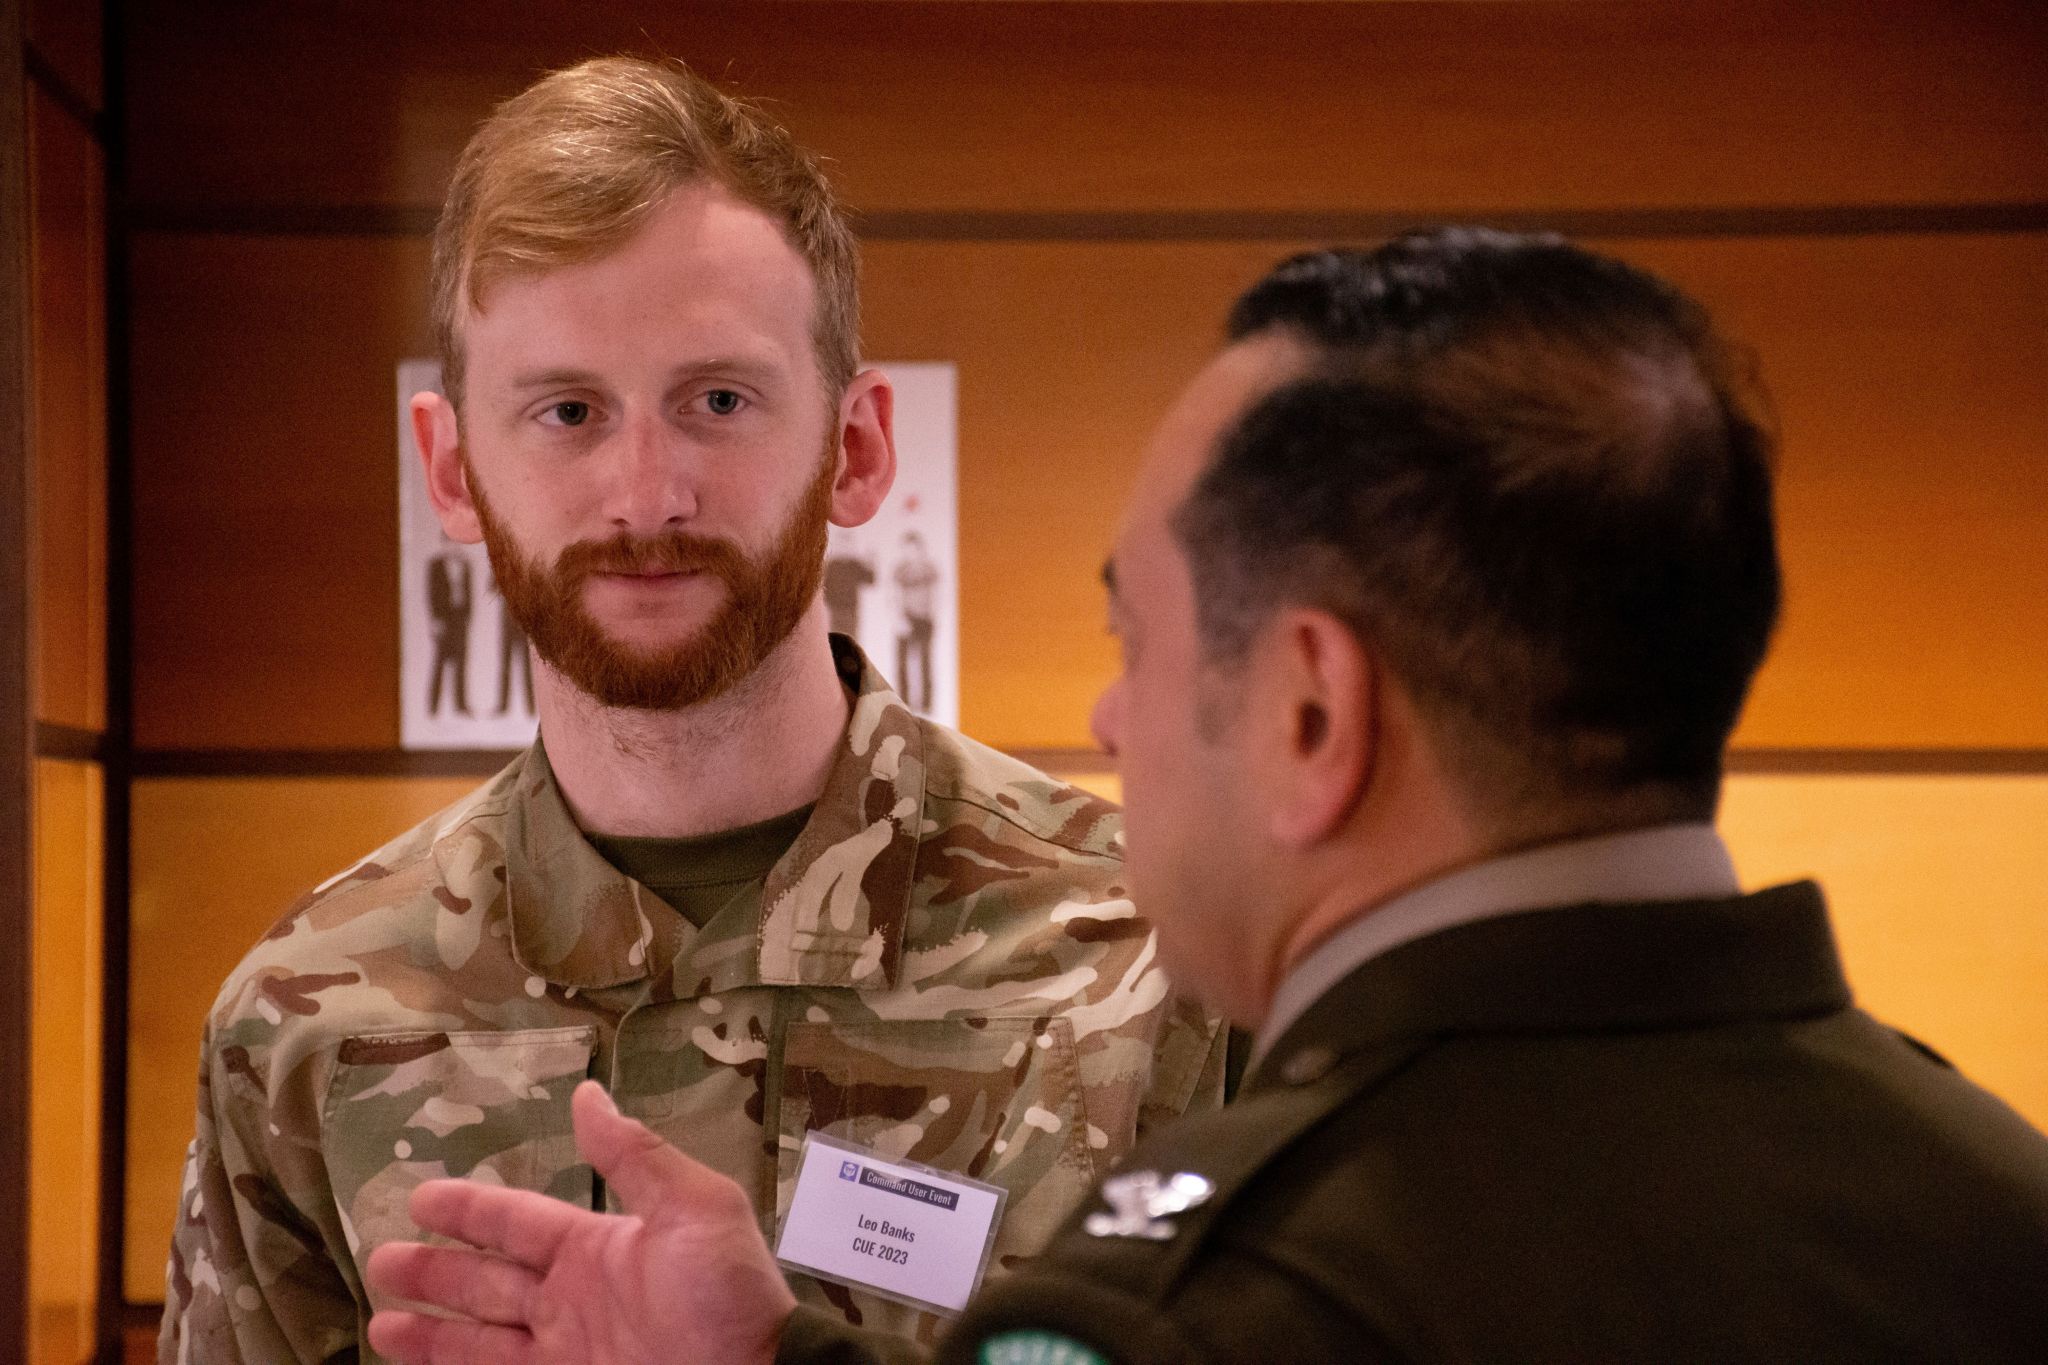
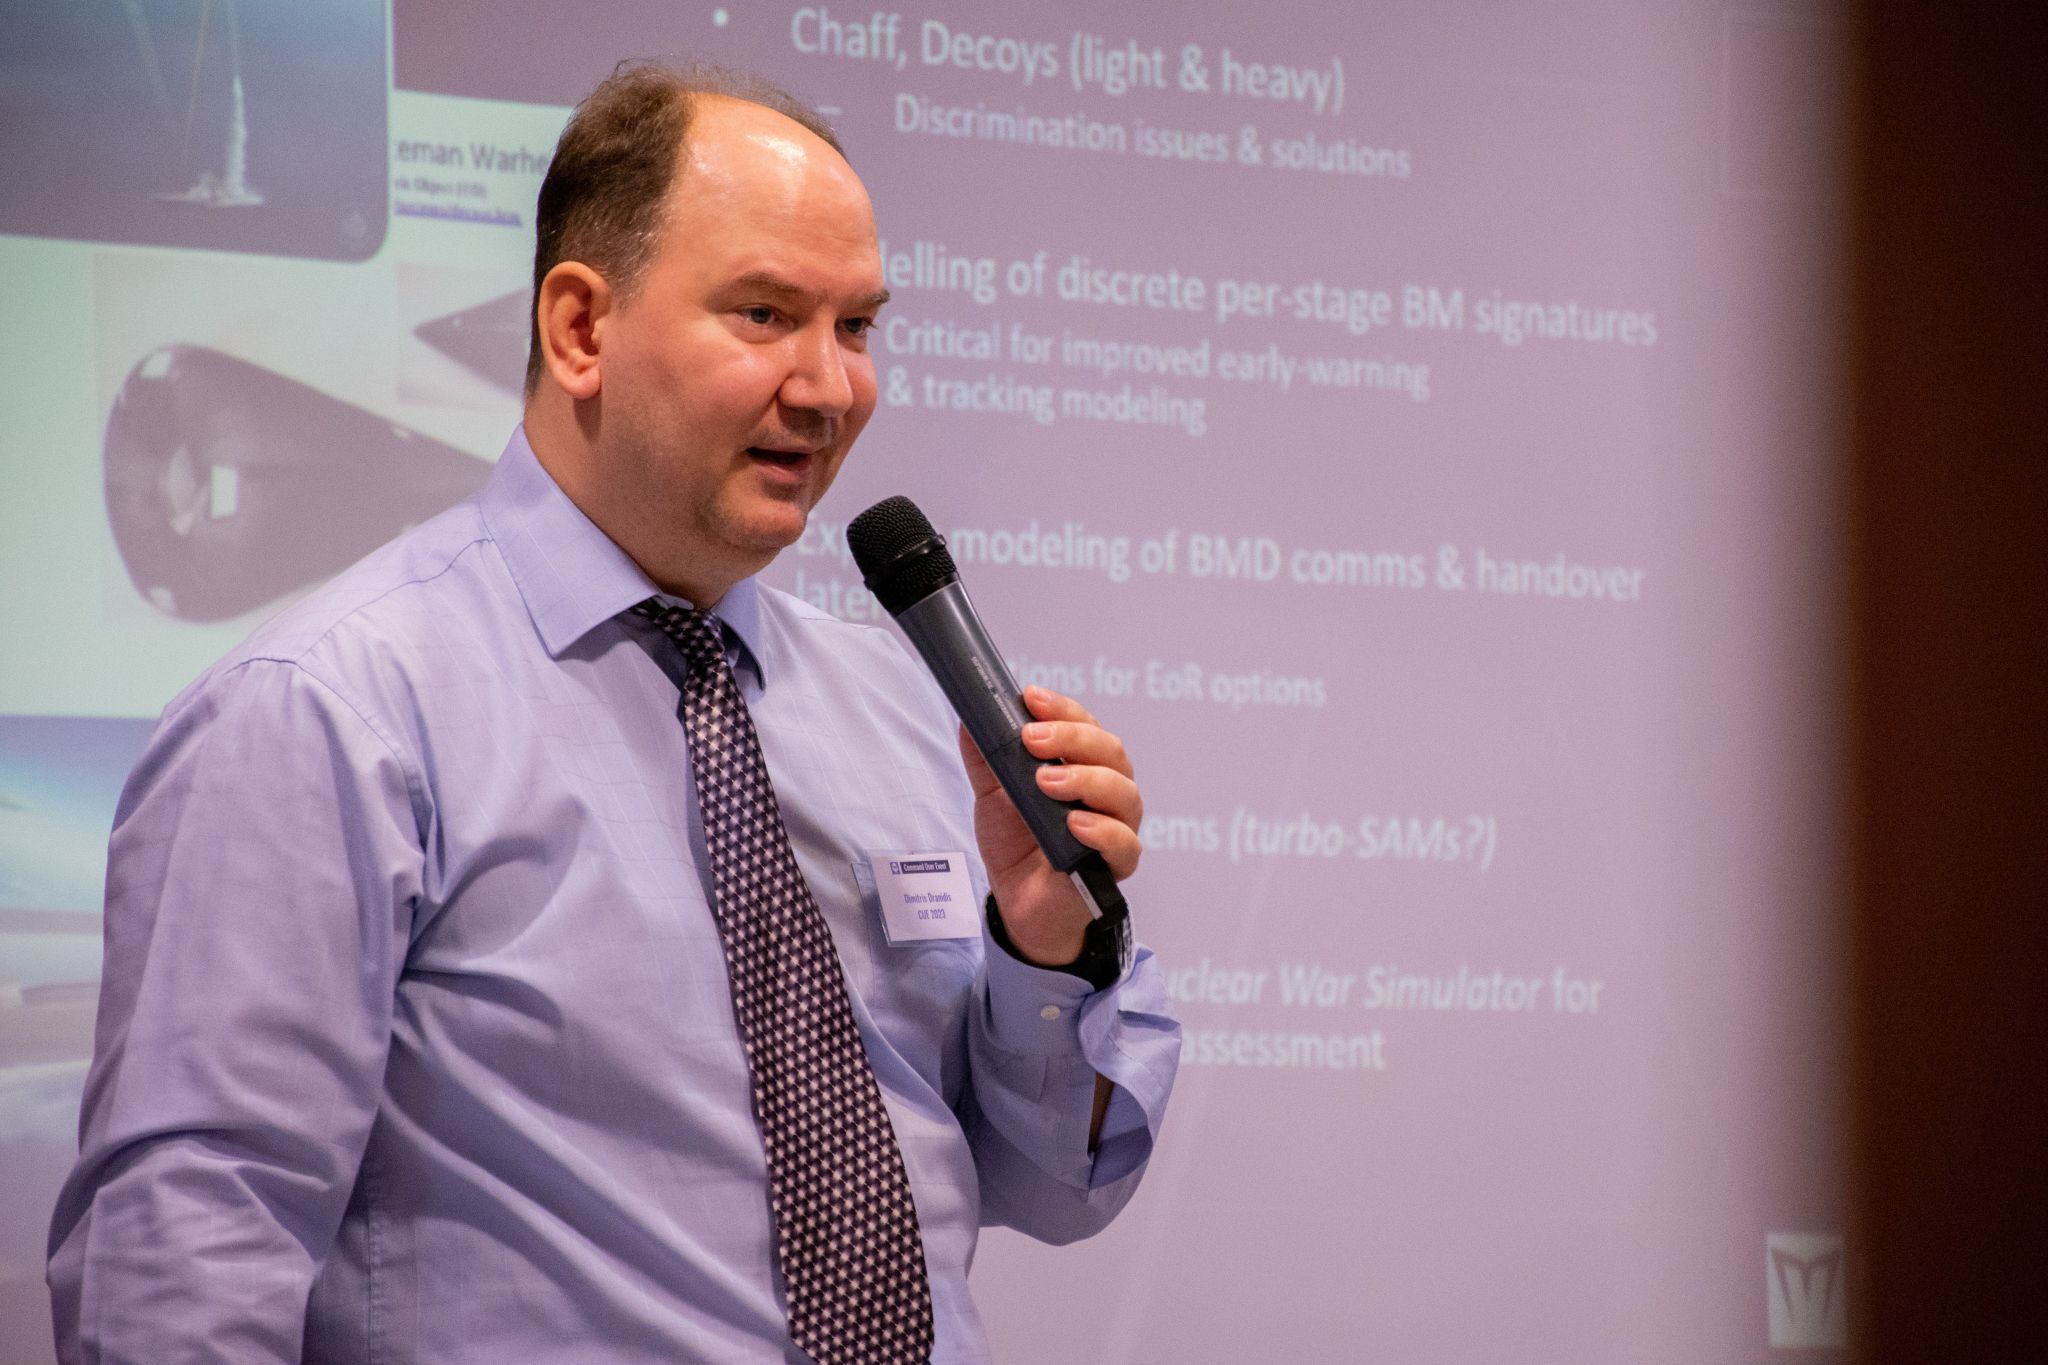
The 10th Command User Event, a highly anticipated gathering for defense professionals, marked a significant milestone, and for us, it was a moment of immense pride. As the organizers of this distinguished event hosted at Casa dell’Aviatore in Rome from September 18th to September 22nd, 2023, we were thrilled to see our vision come to life on an international stage. The success of this event was a testament to the collaborative spirit of the defense community and the unwavering commitment of our team.
This event wouldn’t have been possible without the support and collaboration of Aeronautica Militare Italiana, and we extend our heartfelt appreciation to them for making this milestone moment a reality.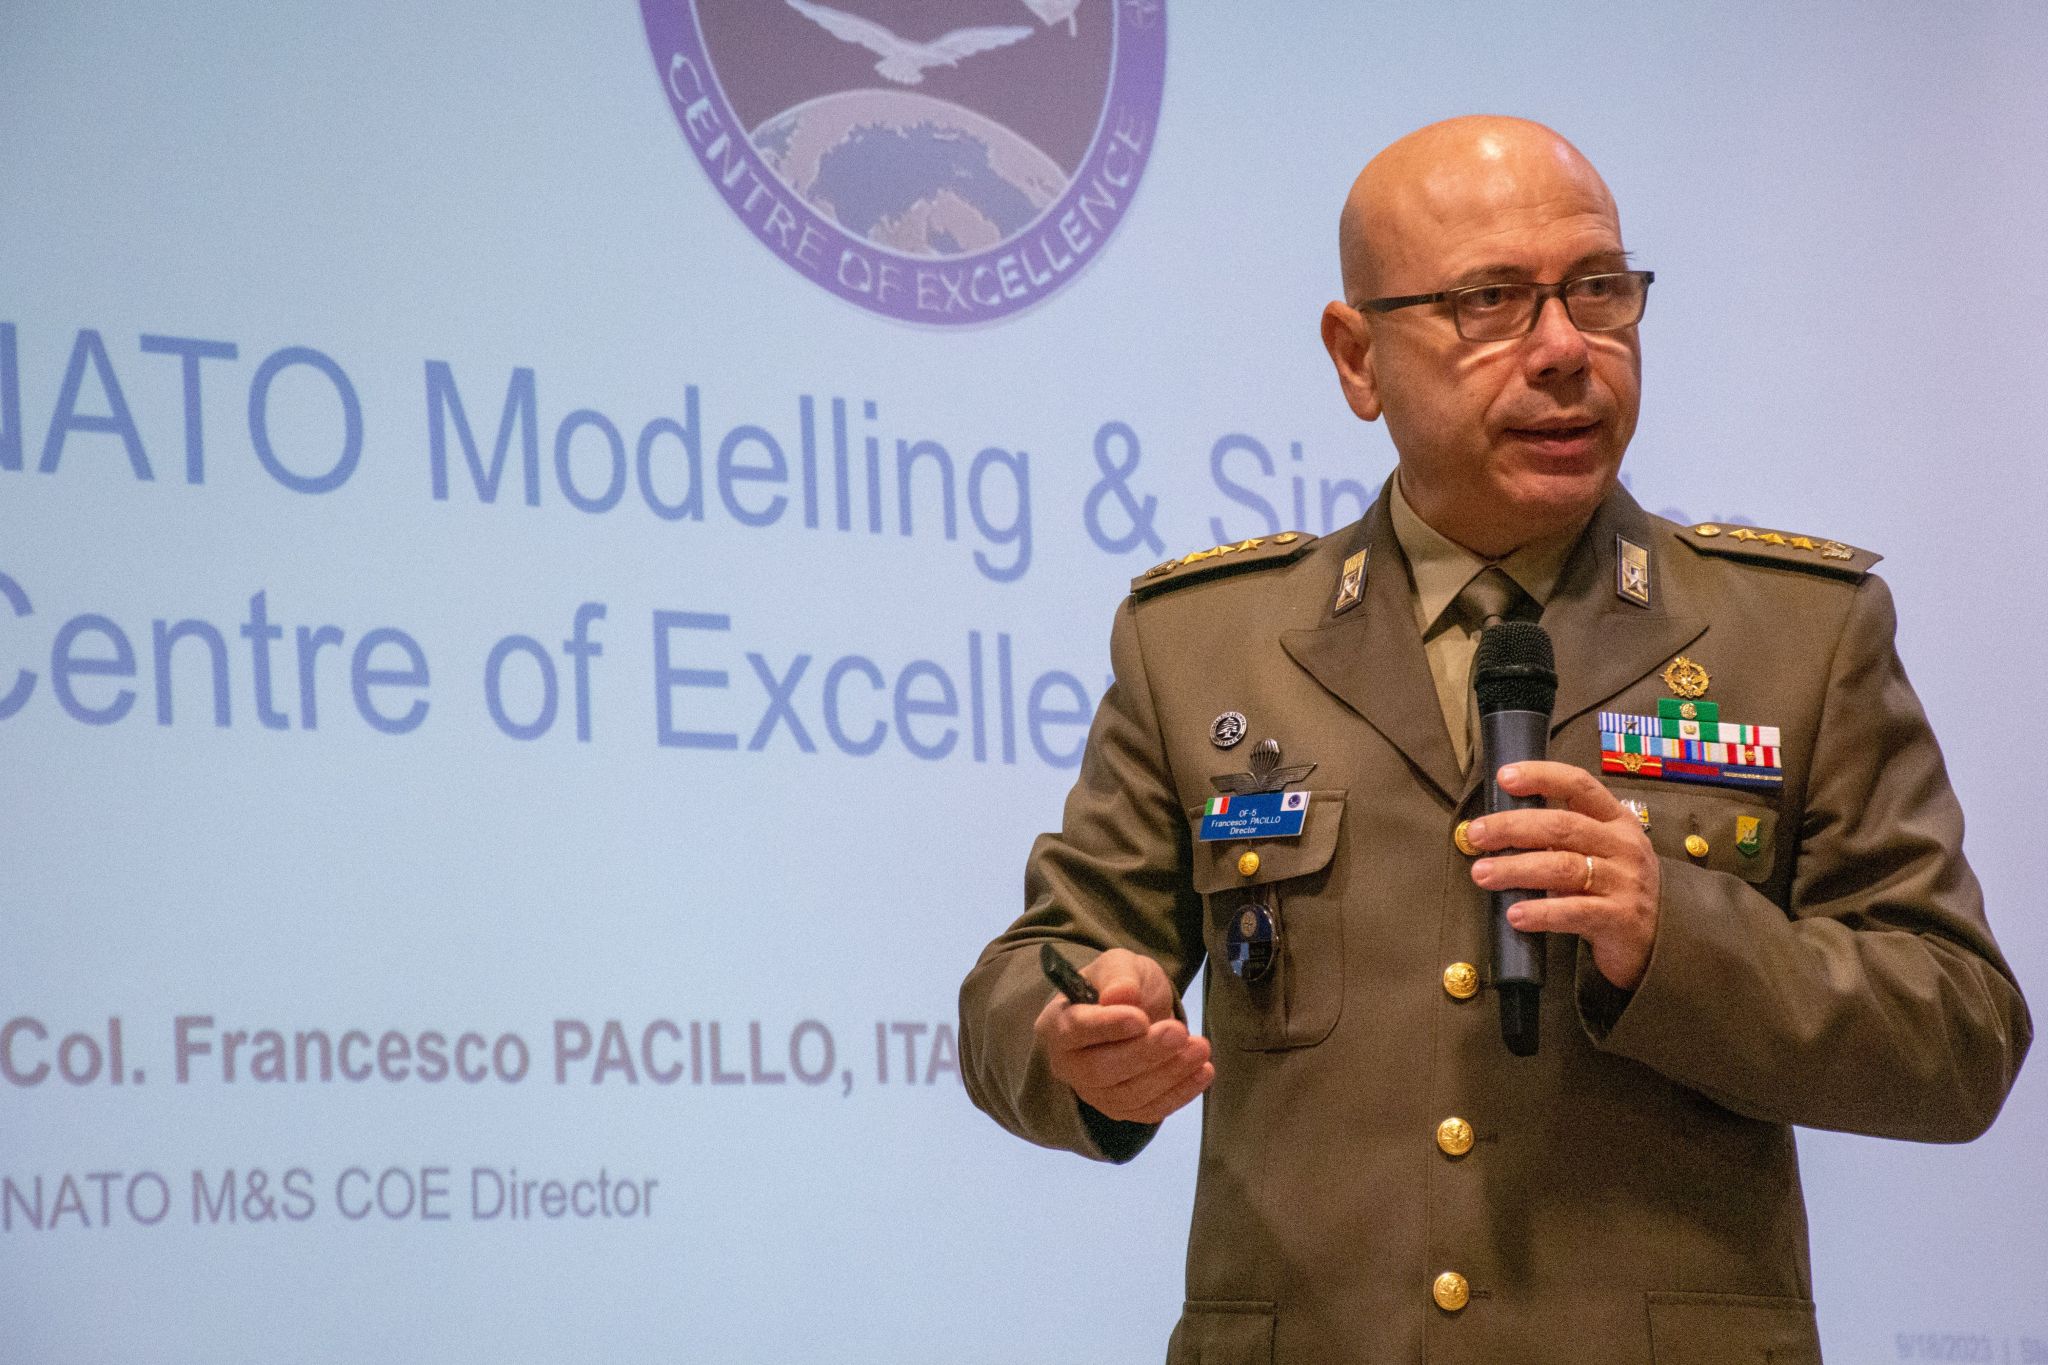

Event Highlights
The Command User Event series has been gaining popularity over the years, and this year was no exception. The event showcased the evolution of Command PE, featuring several significant upgrades, including Real Time MultiPlayer, Amphibious Ops Planner, and Advanced Planner.
The event offered a diverse program catering to both beginners and experienced professionals. It featured training sessions led by renowned figures in the defense sector, tailored to address the specific needs of attendees. One of the event’s standout features was the array of analysis and experimentation approaches being used by the Command PE community.
Command PE boasts a powerful, scalable simulation engine that utilizes an extensive database of platforms and weapon systems, spanning from post World War II to the near future. This resource provides attendees with unparalleled opportunities for hands-on learning and experimentation.


Notable Speakers
The event’s agenda included a roster of distinguished speakers, each contributing their expertise and insights. Some of the notable presentations included:
– “Command 101” – A demonstration of Command and its capabilities, presented by Dimitris Dranidis.
– “Solving the Problem of Data in Defence” by Nathan Smith, Principal Engineer – Combat Systems, BAE Systems Submarines.
– “Command PE in support of AFRL wargaming activities” by Matt Stonecipher, Defense Simulation Controller Specialist at University of Dayton Research Institute.
– “CPE use in Maritime Operational Analysis” by Jaime Etherton, Analyst, Dstl.
– “Overview: Artificial Intelligence / RL / LLMs and Command” by Rory Anderson, Matrix Pro Sims.
International Collaboration
The event transcended geographical boundaries, transforming into a global nexus of knowledge exchange.
Representatives from 11 nations shared insights, experiences, and innovative approaches, fostering a vibrant environment for cross-cultural learning. Such connections have the power to transcend the event itself, serving as lasting bridges for future cooperation and partnership in the ever-evolving field of defense technology.
Distinguished speakers from around the globe graced the event with their expertise and insights. Notable among them were:
Col USMC (Ret) Tim Barrick, Director of Wargaming at the Krulak Center for Innovation & Future Warfare, who shared invaluable perspectives on the applications of Command PE in Professional Military Education.
Dr. Pei-Shiue Hsieh is an Associate Research Fellow at the Institute for National Defense and Security Research in Taiwan. Dr. Hsieh’s presentation shed light on INDSR’s use of COMMAND for counter-propaganda and military analysis.
Col Arnel David, a strategist from the US Army and SHAPE (Supreme Headquarters Allied Powers Europe) shared insights on “Fight Club and Gaming in NATO” and provided a global perspective on the strategic importance of wargaming in shaping defense strategy.
Lt Col Thomas Silier is an instructor specializing in Air Power Studies at the German Air Force Officer School, Luftwaffe. His presentation on “Command PE in a Training Environment” brought a European perspective to the event, enriching the international discourse.
Conclusion
The 10th Command User Event in Italy was a resounding success, setting new standards for the convergence of defense innovation, technology, and collaboration. As Command PE continues to evolve, the event remains a vital platform for defense professionals to stay at the forefront of advancements in the sector.
- What is 'Command'?
- Professional, Academic & Student Edition
- What the Press Say
- Customer Testimonials
- Scenario & Add-On Downloads
- Mega-FAQ
- Official Forum
- Contact Us
- Links
-
- What is 'Harpoon'?
- Waypoint Magazine
- Harpoon3.6 1937-1949
(WW2)
Database & Scenarios - Harpoon3.6 1950-1964
(Colonial Wars)
Database & Scenarios - Harpoon3.6 1965-1979
(Missile Age)
Database & Scenarios - Harpoon3.6 1980-2015
(DB2000)
Database & Scenarios -
Archives
- February 2024
- December 2023
- October 2023
- September 2023
- August 2023
- July 2023
- May 2023
- March 2023
- January 2023
- December 2022
- November 2022
- October 2022
- September 2022
- August 2022
- March 2022
- November 2021
- October 2021
- September 2021
- August 2021
- May 2021
- April 2021
- March 2021
- October 2020
- May 2020
- March 2020
- February 2020
- January 2020
- November 2019
- October 2019
- September 2019
- May 2019
- March 2019
- February 2019
- January 2019
- November 2018
- October 2018
- September 2018
- July 2018
- May 2018
- March 2018
- February 2018
- January 2018
- November 2017
- October 2017
- September 2017
- July 2017
- May 2017
- April 2017
- March 2017
- February 2017
- January 2017
- December 2016
- November 2016
- October 2016
- September 2016
- August 2016
- July 2016
- May 2016
- April 2016
- March 2016
- February 2016
- January 2016
- December 2015
- October 2015
- September 2015
- August 2015
- July 2015
- June 2015
- May 2015
- April 2015
- March 2015
- February 2015
- January 2015
- December 2014
- November 2014
- October 2014
- September 2014
- August 2014
- July 2014
- June 2014
- May 2014
- April 2014
- March 2014
- February 2014
- January 2014
- December 2013
- November 2013
- October 2013
- September 2013
- August 2013
- July 2013
- June 2013
- May 2013
- April 2013
- February 2013
- January 2013
- December 2012
- October 2012
- August 2012
- July 2012
- April 2012
- January 2012
- November 2011
- October 2011
- September 2011
- July 2011
- May 2011
- April 2011
- March 2011
- February 2011
- December 2010
- November 2010
- October 2010
- August 2010
- June 2010
- May 2010
- April 2010
- March 2010
- February 2010
- January 2010
- December 2009
- November 2009
- October 2009
- September 2009
- August 2009
- July 2009
- June 2009
- May 2009
- April 2009
- February 2009
- December 2008
-
Recent Posts
Main Menu
Webshop
BUY at MatrixGamesBUY on Steam
BUY on Humble store
